We’re going to set up everybody’s GitHub repository to help work more smoothly with your teammate.
And finally we’ll invite your teammate to collaborate on the same code base in an isolated branch.
Set up your eCommerce pattern library Git repository for collaboration and clone your teammate’s repo so you can start coding.
We’re going to set up everybody’s GitHub repository to help work more smoothly with your teammate.
And finally we’ll invite your teammate to collaborate on the same code base in an isolated branch.
The person who owns this pattern library, the person who created all the patterns.
The person who will be developing/writing the code/creating the new product details page.
The first step to do on your own eCommerce website is to protect the master branch. This will prevent your teammate from overwriting any code that you’ve written without your permission.
We’re also going to enable code review, that way you can see, test–and approve—their code before you put it back into your version.
Go to the GitHub website and view your ecommerce-pattern-library repository.
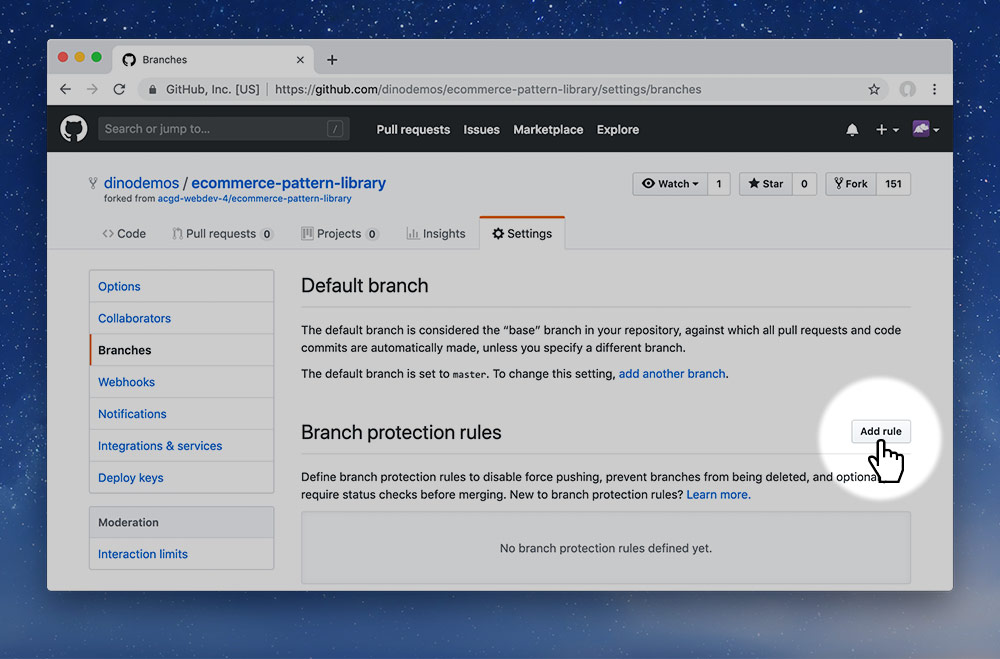
Go to the “Settings” tab then click on the “Branches” navigation item. Lower down the screen is a “Branch protection rules” setting: press “Add rule”.
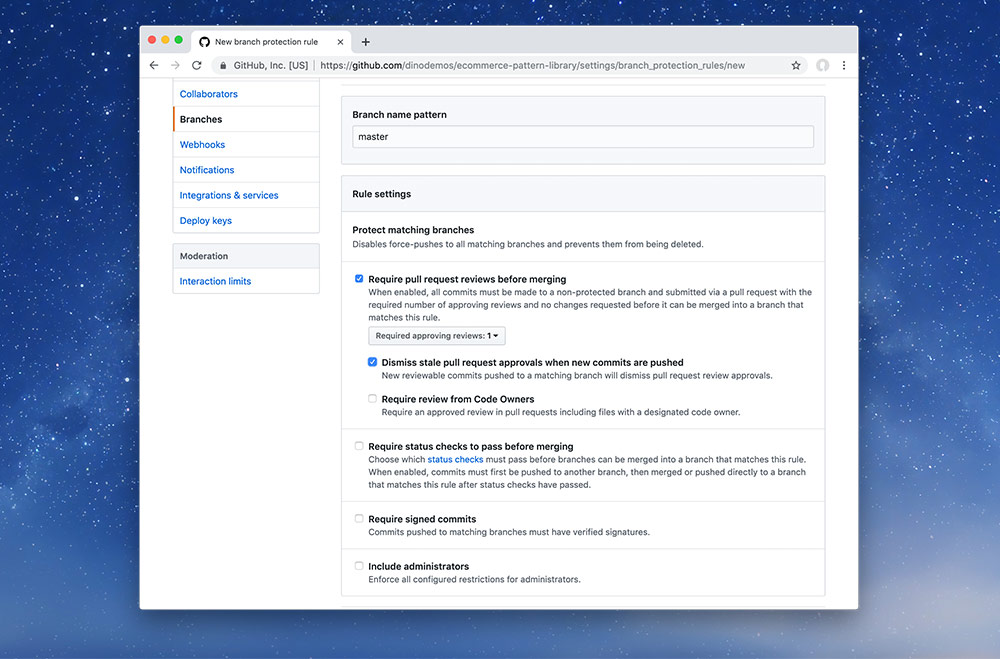
On the next screen select the following options and save:
master into the field because that’s the branch we want to protect.master branch.Make sure to save the changes.
All repositories should have a primary branch that is considered to be a pristine copy of the code. We haven been following best practice by committing directly onto our primary branch.
Most often the default branch for a repository that you’re working on (outside of this course) is called master. In our case our default branch is named master. I’ve done it this way so that every single repository that you fork is already a hosted website on GitHub; the master branch means: my repository should be a hosted website.
Now, invite your teammate as a collaborator on your repository. This will allow them code in the repository, get fresh updates & eventually put their code back into your version.
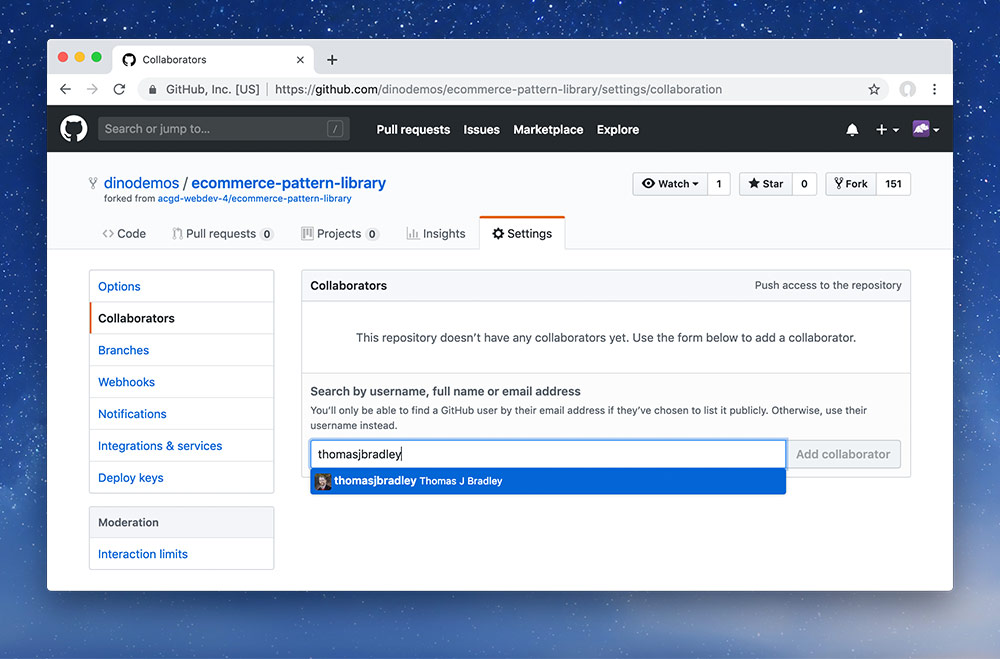
Head over to the “Collaborators” tab and search for their GitHub username. Press “Add collaborator” when ready.
This will send an invitation to your teammate’s GitHub email address which they must accept. Consequently, you must head over to your own email now and accept the invitation from your teammate before continuing.
It’s now your turn—the developer—to clone the repository that you were just invited to. After accepting your invitation you will have access to the repository.
Clone like normal—except with one small change: rename the folder so you know which is which!
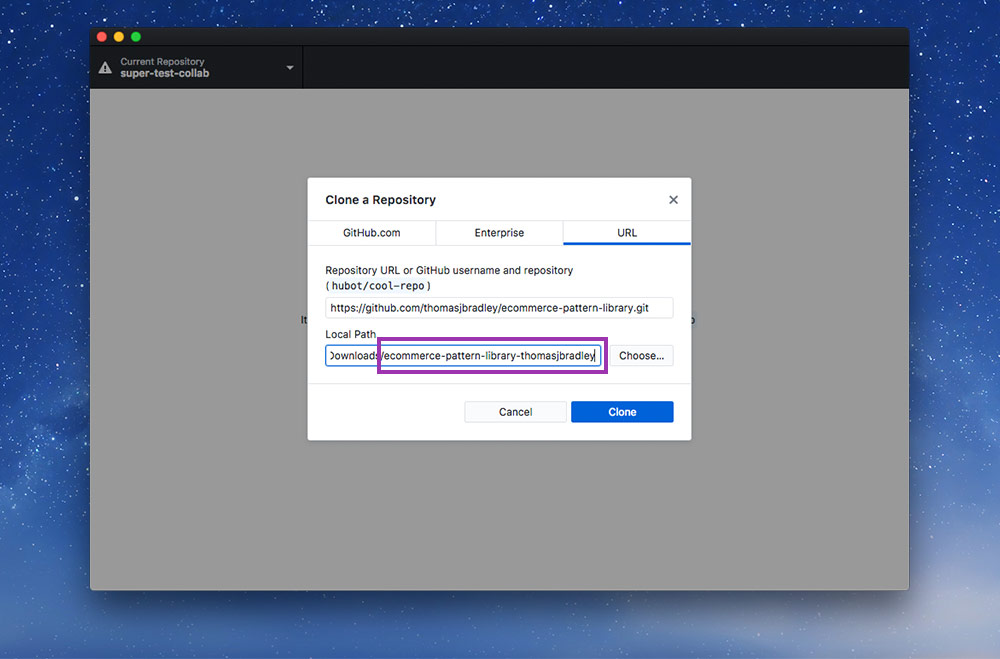
Type something at the end of the path, to add onto the folder name that gets created, so it’s unique and you can tell the two eCommerce websites apart.
You, as the collaborator, are not allowed to write commits or code directly to the master branch. So we need to make a new branch to work from.

Press the branch button then press the “New branch” button.
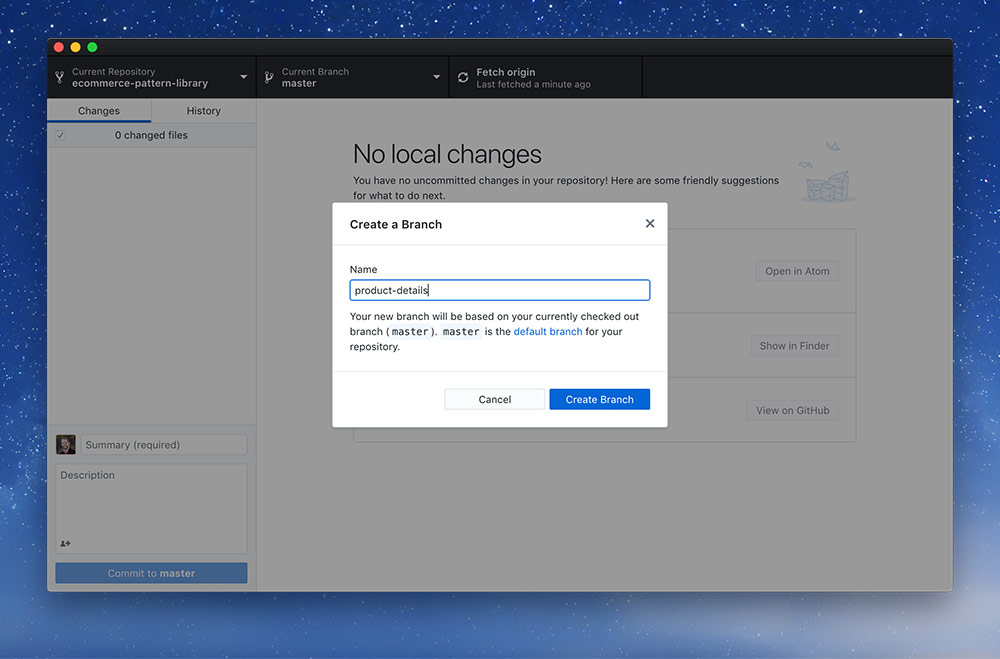
Name your new branch product-details
And you’re just about ready to start coding the final page. All that’s left is a discussion with your teammate.
Branches are just copies of the code at a specific point in time. By creating a new branch we are copying the code to an isolated environment that we can work without and not damage our pristine default branch.
At any point we can switch back to the default branch and the code in our editor will automatically switch to how the code looks on that branch.