Install more developer tools

Walk through the process of installing an up-to-date version of Ruby & Bundler on your computer in preparation for doing our pattern libraries.

1 Open Terminal

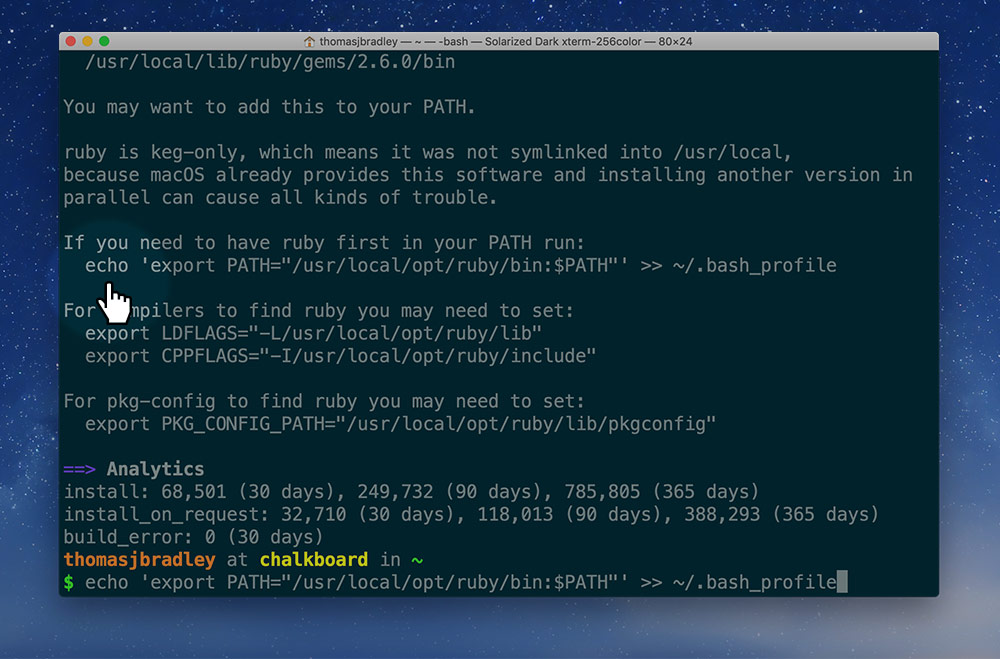
MacOS comes with the Ruby scripting language—but it’s usually out-of-date and quite restricted. So we need to install our own version, which isn’t too difficult to install, but it does require everything to be completed from within Terminal.

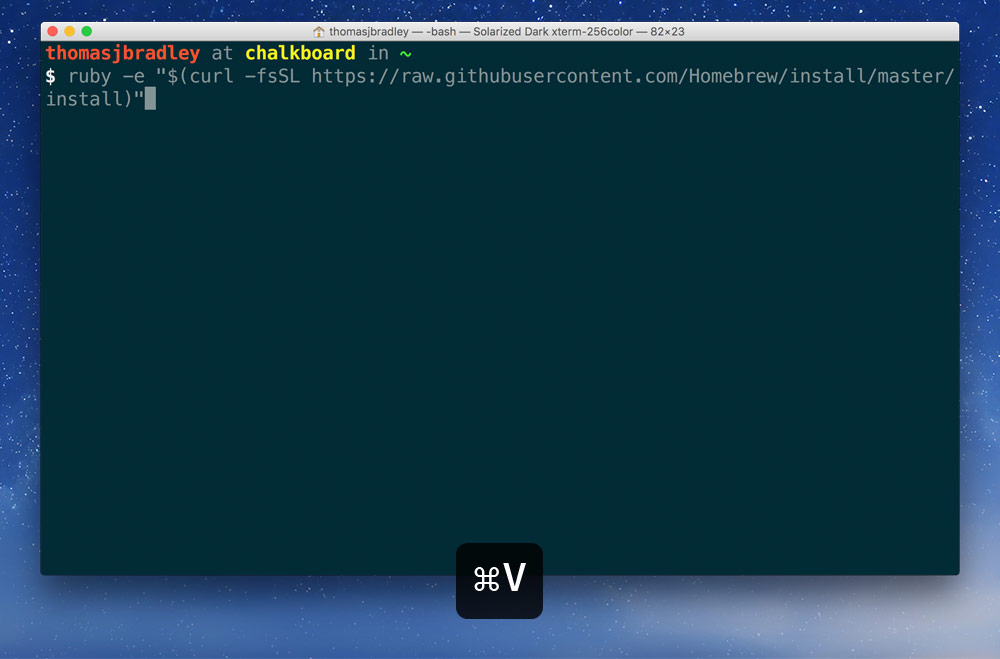
So first: open “Terminal” on your computer. It’s in Applications > Utilities or you can search with “Spotlight”.

Yours will look different: I have mine super customized.

You will not be able to get to the next line in the Terminal like mine shows—mine is extremely customized because I use it so often.

2 Install Homebrew

Homebrew is a package manager for Mac & Terminal—it’s like an app store, but specifically in the Terminal and mostly for developer tools.

First go to the Homebrew website.

On the page, you’ll see a chunk of code—copy it.

Paste it into your Terminal and hit return, your computer will go off an install Homebrew.

It will prompt you for your computer’s password. As you type it in you won’t see anything—but it is being entered. When you’ve finished typing your password, hit Return.

  1. Be patient…

    The installation of Homebrew will likely take a long time—wait it out before continuing.

3 Install Ruby with Homebrew

Later in the term we’ll be using an application framework called Jekyll. Jekyll is written in the Ruby programming language, so we need to get that installed on our systems.

Using brew we can install the most recent version of Ruby.

brew install ruby
  1. Be patient…

    The installation of Ruby will likely take a long time—wait it out before continuing.

4 Fix your $PATH variable

All computers have a hidden piece of information called the $PATH variable; it’s most used when interacting with the Terminal.

The $PATH variable tells Terminal what folders to look for applications in—and more importantly what order of folders to look.

After installing a different version of Ruby than the one installed in our system, we want to tell MacOS to prioritize looking in the newest Ruby, not the original one.

echo 'export PATH="/usr/local/opt/ruby/bin:$PATH"' >> ~/.bash_profile

Copy the above code and paste it into your Terminal window. Hit Return. (You should be able to see this code a few lines up in the display, that’s Ruby also telling you to do this.)

5 Close Terminal & open it again

We need to get the Terminal to reinitialize itself—so close the window and create a new window: ⌘W, ⌘T

6 Check Ruby is installed

Just to confirm that Ruby is installed, we’re actually going to look for another app that was installed alongside Ruby: RubyGems. We’re going to look to see which RubyGems app your computer tries to load.

which gem

You should see exactly this output: /usr/local/opt/ruby/bin/gem otherwise it didn’t install properly. It’s likely that your $PATH variable wasn’t set properly—your teacher can help you fix that.

7 Install Bundler

Bundler is another tool we’ll need later in the term: its purpose is to allow us to define what plugins & packages our application will rely on: specifically we’ll use it to define that our app uses Jekyll & Patternbot.

gem install bundler

Bundler may confirm if you want to overwrite the previous version. Type y and hit Return. It may ask you two different questions, you can answer “yes” to both of the questions.

  1. Be patient…

    The installation of Bundler will likely take a long time—wait it out before continuing.