On Mac it isn’t too difficult to install Jekyll, but it does require everything to be completed from within Terminal.
This tutorial is for newer MacOS, 10.9+
If you have an older version of Mac OS X, specifically 10.8 and below, ☛ See the Older Mac OS X installation guide.
Install the command line tools
We need to install the Command Line Tools before installing Jekyll using Terminal.
You can install the command line tools directly from Terminal.
xcode-select --install
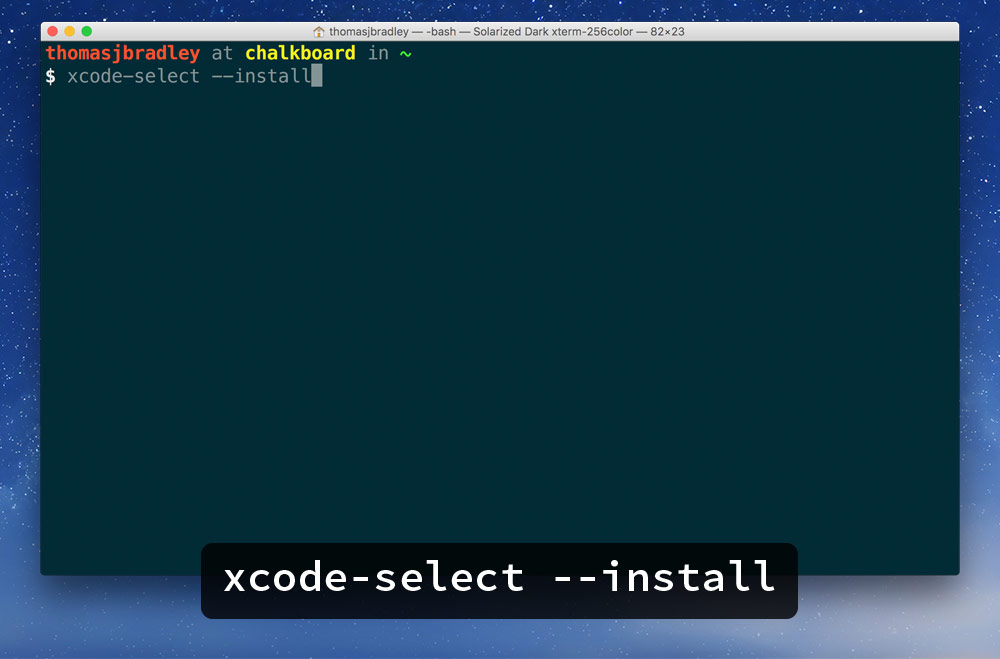
It will prompt you to install and approve a terms of use then download and install the tools on your computer.
You won’t see anything new on your computer, everything happens in the background.
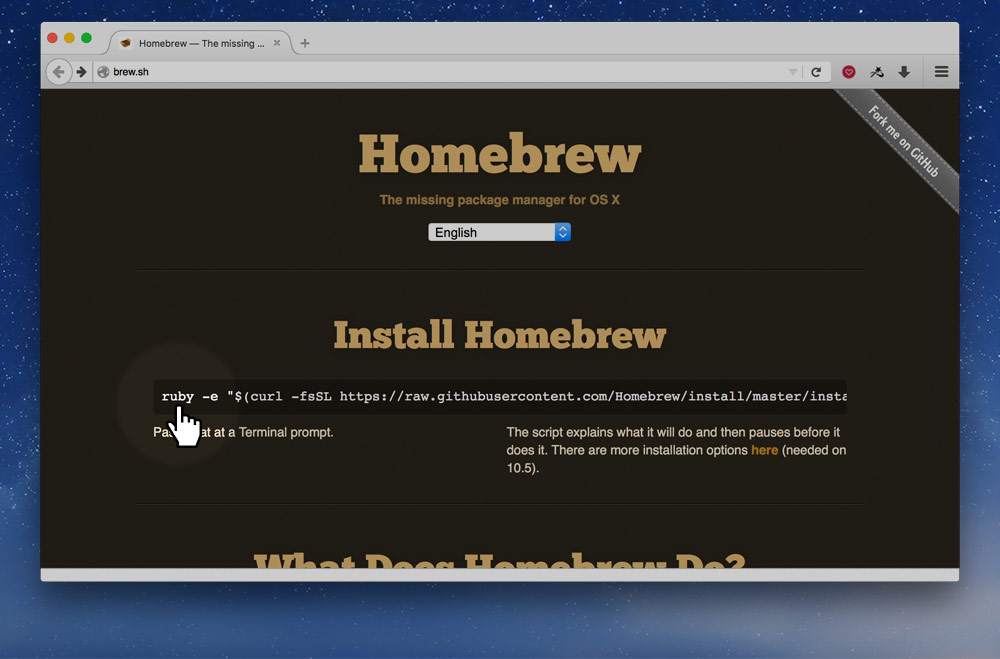
Install Homebrew
Homebrew is a package manager for Mac & Terminal—it’s like an app store, but specifically in terminal and mostly for developer tools.
First go to the Homebrew website.

On the page, you’ll see a chunk of code—copy it.
Paste it into your Terminal and hit return, your computer will go off an install Homebrew.
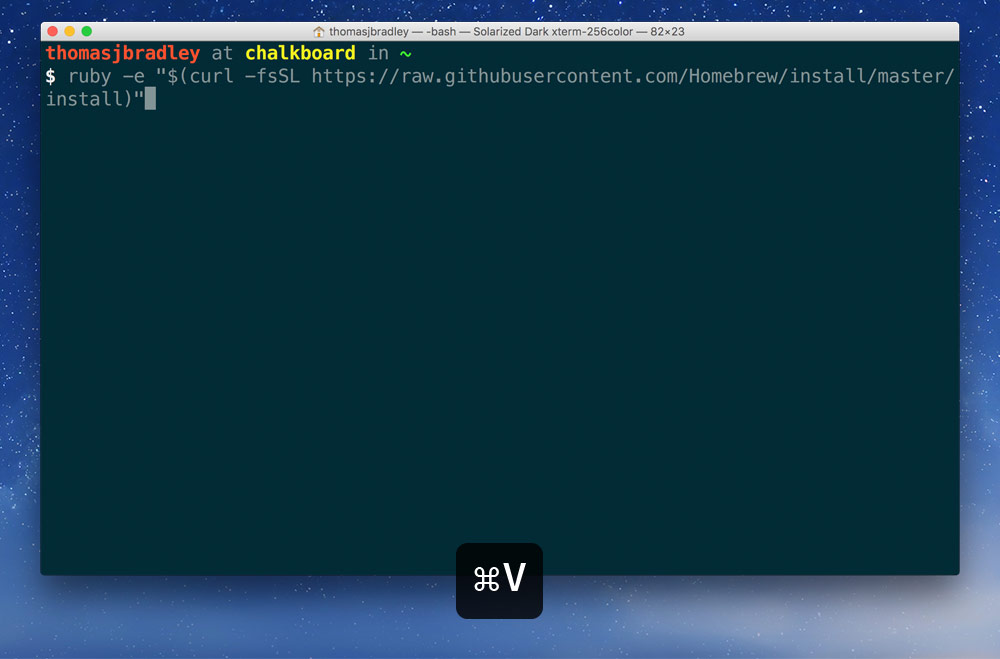
It will prompt you for your computer’s password. As you type it in you won’t see anything—but it is being entered. When complete, hit Return.
Install Ruby
First we need to install the programming language Jekyll is written in: Ruby.
Using brew we can install the most recent version of Ruby.
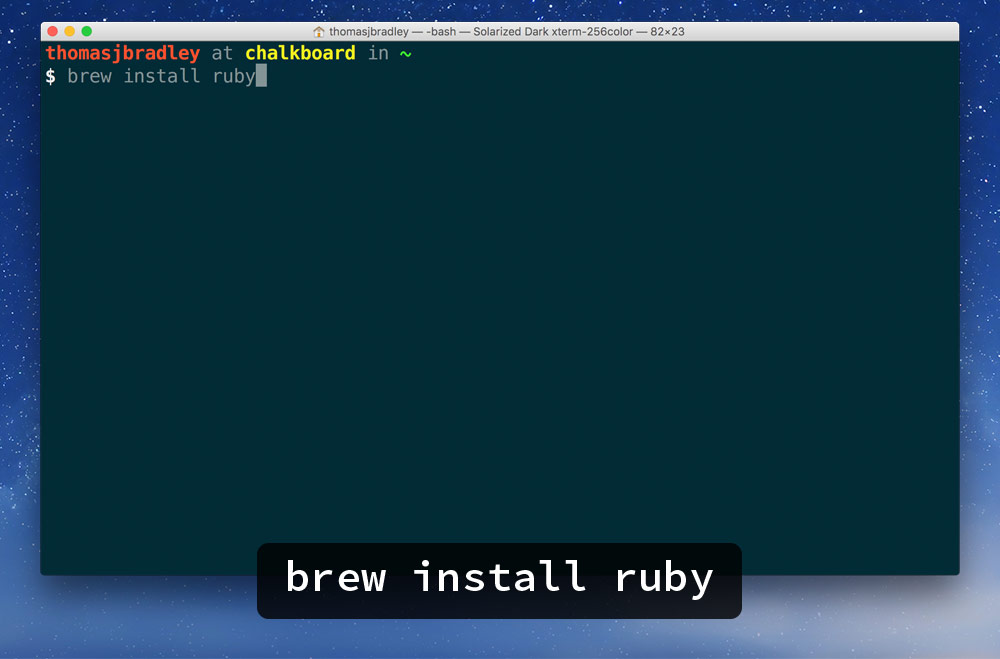
brew install ruby
Set up the proper path
Homebrew will prompt you to update your .bash_profile when it completes the Ruby installation, in the big info dump.
We need to update our $PATH variables so our computer knows where to find this new version of Ruby we installed.
Run this command in your Terminal:
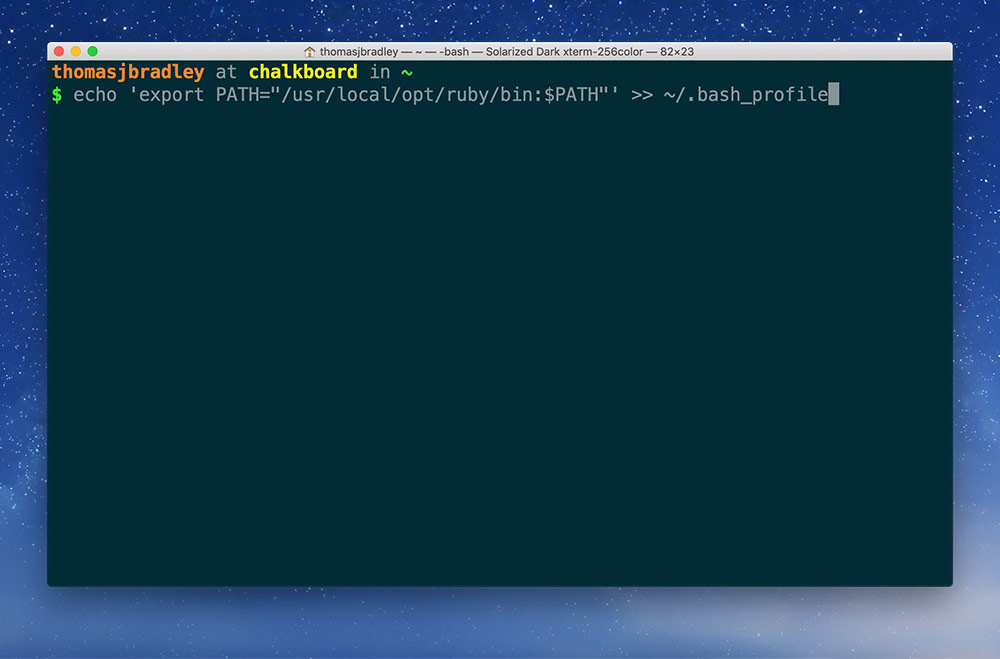
echo 'export PATH="/usr/local/opt/ruby/bin:$PATH"' >> ~/.bash_profile
Install the most recent Bundler
Bundler is an application that will install Ruby apps for us. It interacts with Ruby’s Gem system and will find and install gems on our behalf: Jekyll is one of those such gems.
Run this command to get the newest version:
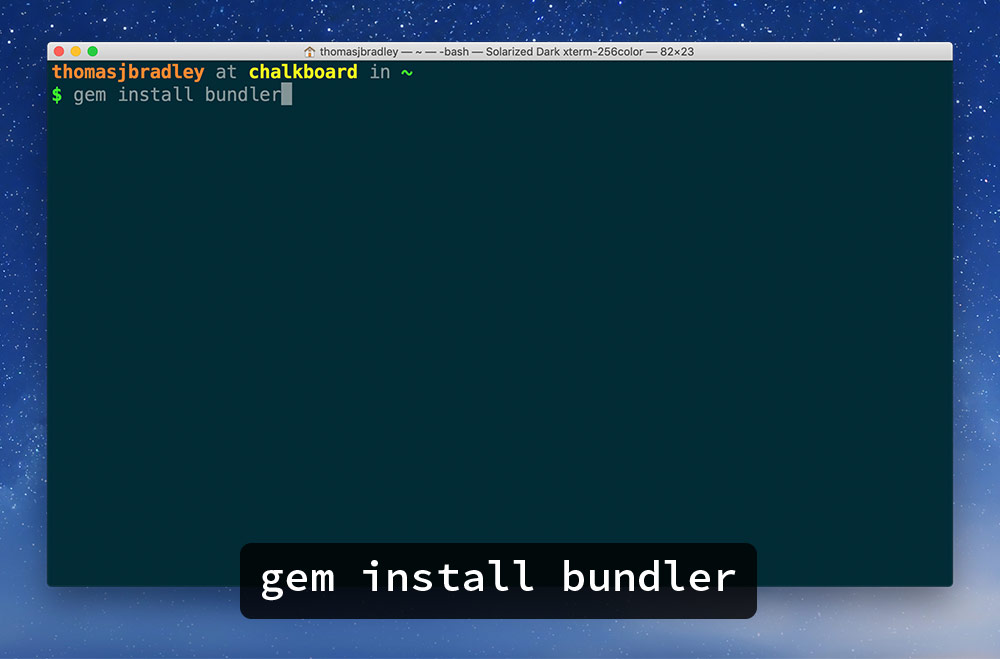
gem install bundler
Bundler may confirm if you want to overwrite the previous version. Type y and hit Return. It may ask you two different questions, you can answer “yes” to both of the questions.
Install Jekyll with Bundler
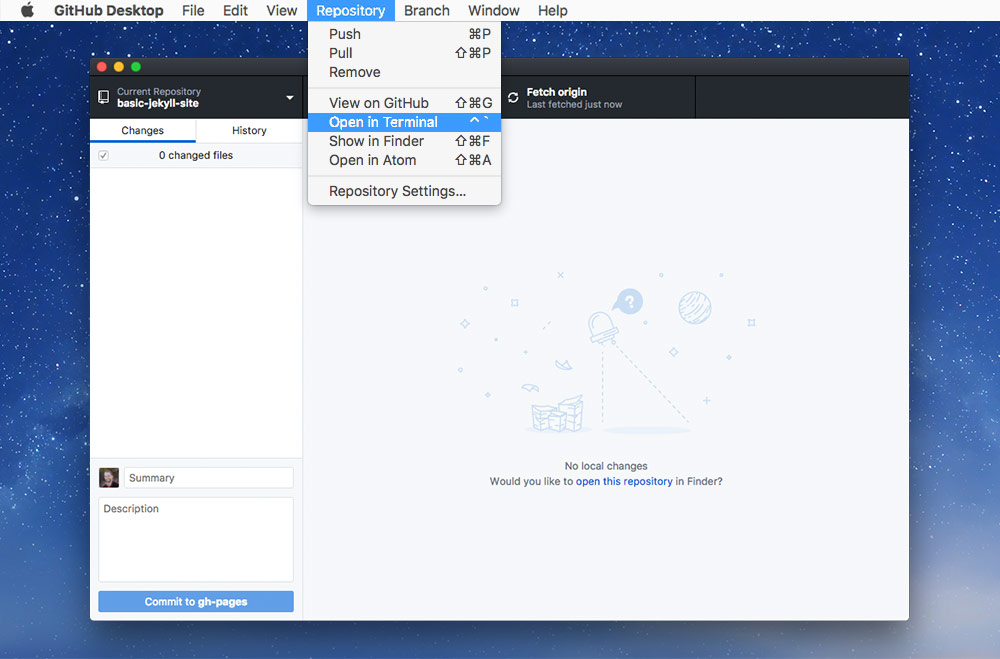
We can now configure our folder, telling Bundler which gems to install for us.
Make sure to now open the correct folder in Terminal, the best way to do that is from GitHub Desktop’s Open in Terminal menu item:
Then type:
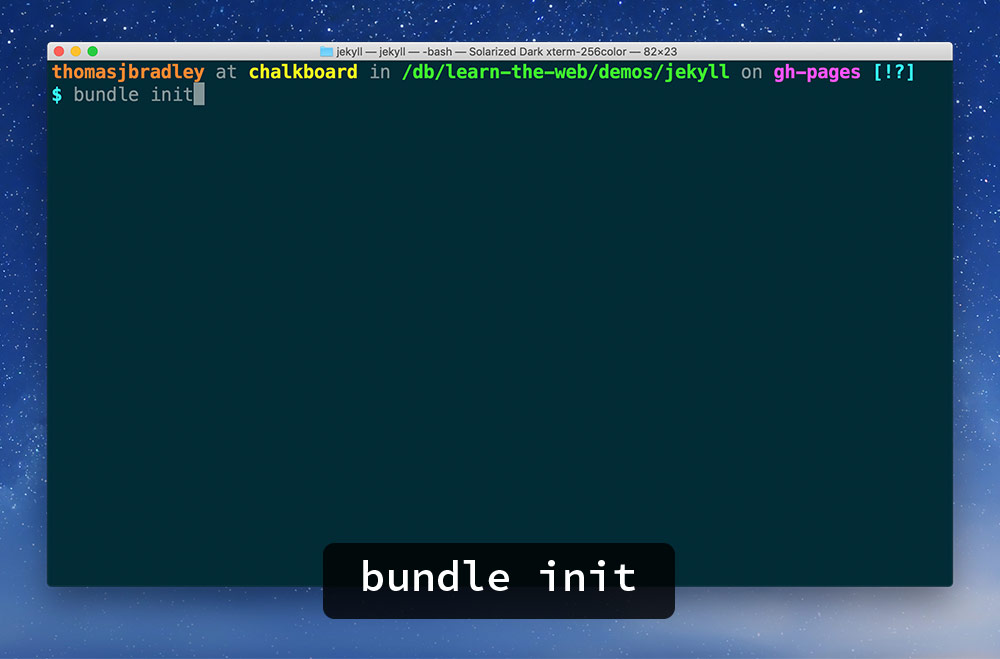
bundle init
You’ll now have a new file in your folder, named Gemfile. Pop open your code editor and add this line to the bottom of Gemfile:
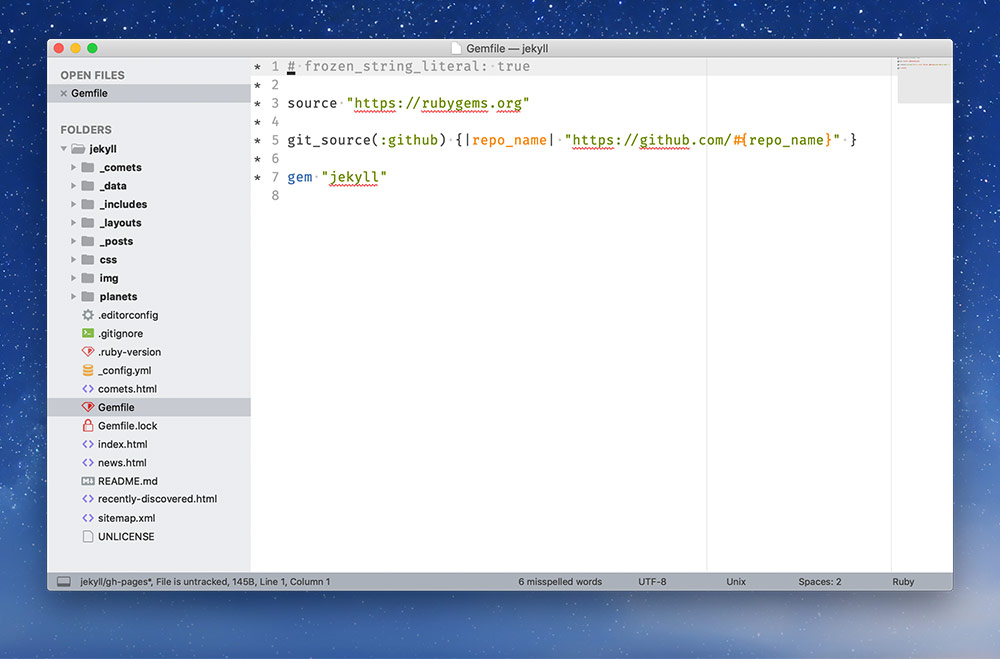
gem "jekyll"
There will be other stuff at the top of the Gemfile—just ignore it.
Now, back to Terminal and get Bundler to install Jekyll for you:

bundle install
This will go and download a whole bunch of stuff to your computer, when it’s done, you have Jekyll.