We already have our pattern library set up so now we’re ready to create our first pattern.
Pattern libraries aren’t much use empty of patterns—so we’re going to look at how to add new patterns to our library in this lesson.
Create the first pattern in our pattern library—the button styles for our website.
We already have our pattern library set up so now we’re ready to create our first pattern.
Pattern libraries aren’t much use empty of patterns—so we’re going to look at how to add new patterns to our library in this lesson.
Remember the purpose of this lesson is to type the code out yourself—build up that muscle memory in your fingers!
Continue on with your ecommerce-pattern-library repository.
We’ll set up our button styles then you can continue to finish them in this week’s homework assignment.
Let’s create a few new folders & code files:
_patterns folder make a new folder named buttonsbuttons folder make the following empty files:
basic.htmlbuttons.cssDon’t forget to follow the naming conventions.
Though, since we’re using Jekyll underscores are okay and are going to show up lots.
In our basic.html file we’re going to put a single, boring button.
In fact that’s all we need! No boilerplate. No CSS. Nothing.
<a class="btn" href="#">Rescue a Dino</a>
When writing the HTML for a pattern we want to be as minimal as possible. Notice there are no grids or <main> tags or <header> tags or anything like that above—just the button.
Now, let’s write a little CSS, just style the button ever so slightly.
You’ll be finishing all the button stuff as your assignment this week.
.btn {
  background-color: var(--color-primary-dark);
  border-color: var(--color-primary-dark);
  color: var(--color-secondary-light);
}

.btn:hover {
  background-color: var(--color-primary);
  border-color: var(--color-primary);
}
Notice how the above code extensively uses our variables that we created in the theme.css file.
Customize the CSS for your own buttons, using your own colours & fonts. Also add hover effects, transitions, etc.
This is actually this week’s assignment.
As soon as you saved the HTML & CSS Jekyll went off and compiled your website. We need to now open it up in our browser to see how our button looks.
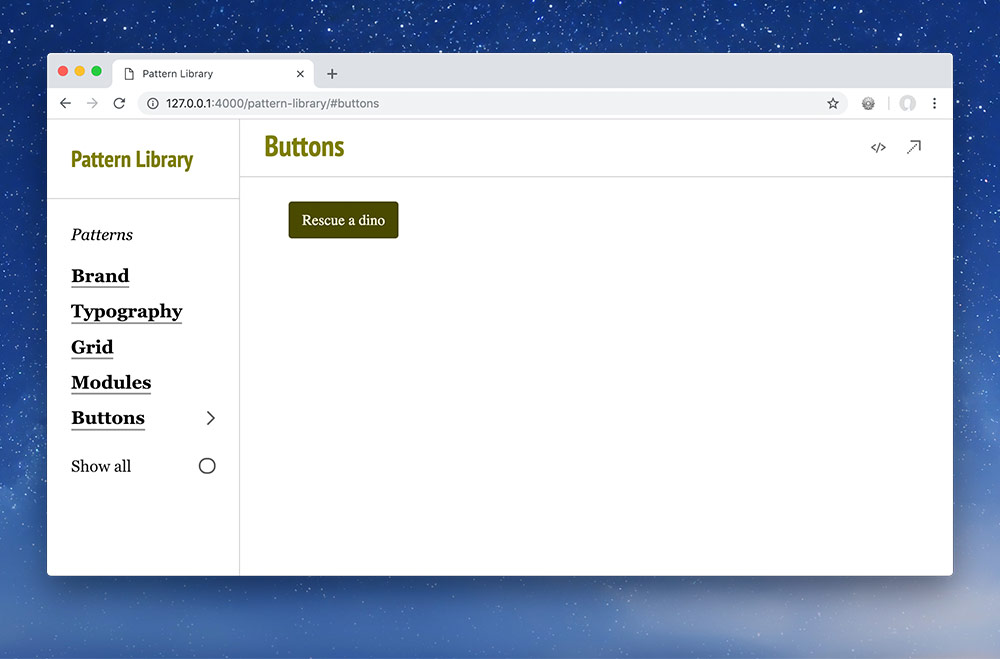
Check out your button pattern in the pattern library!
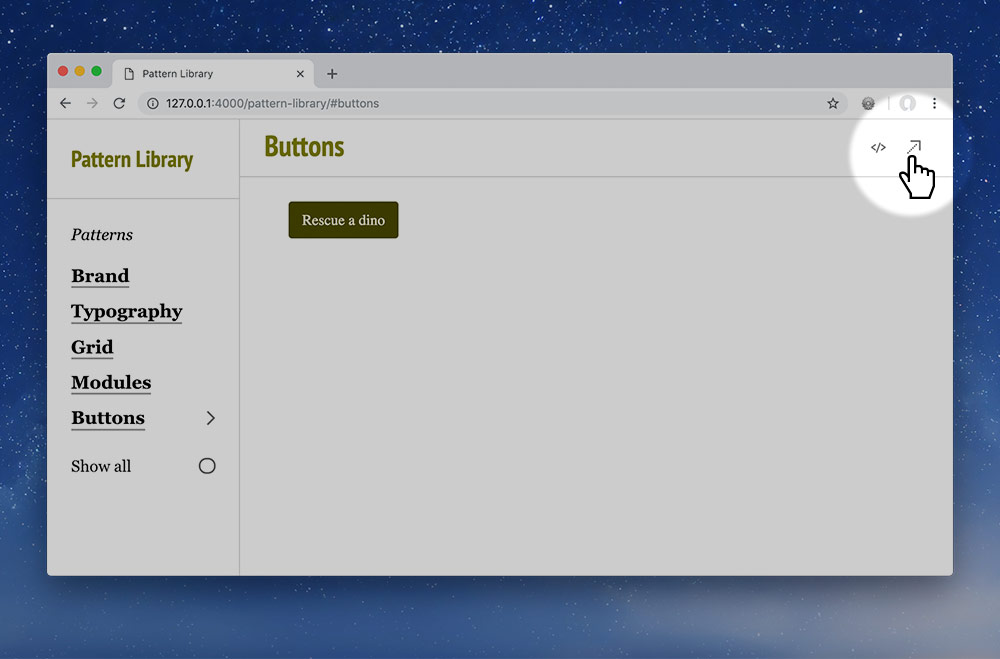
You can use Patternbot’s “pop-out” button to view the button by itself so you don’t have to refresh the whole pattern library to see small changes.
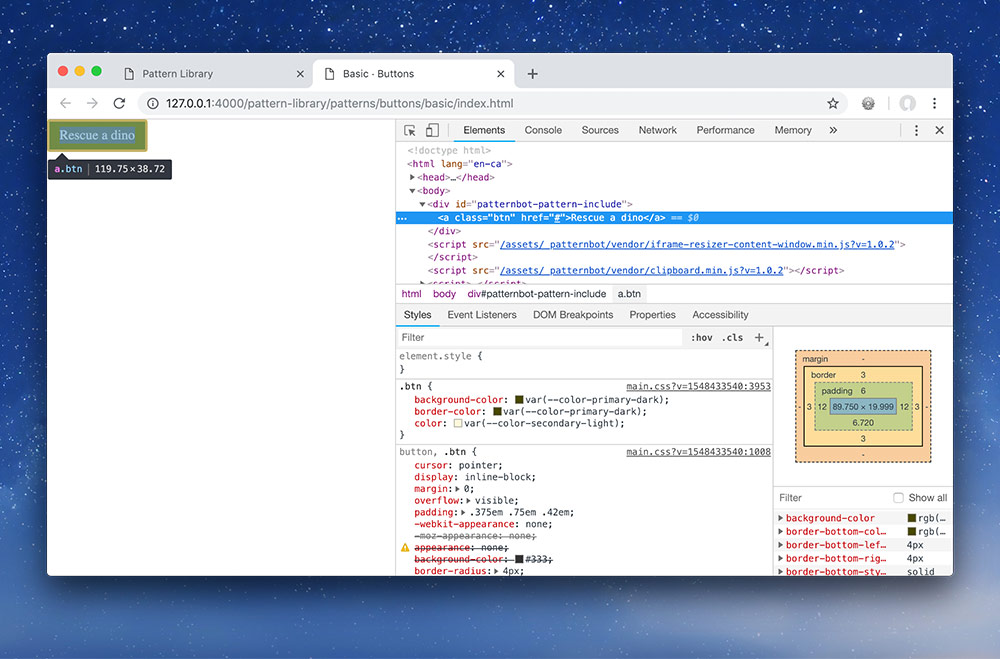
It also makes using the browser’s developer tools much more straight forward.
Let’s add a couple more button patterns: “ghost” & “light”.
The HTML is going to be almost completely identical, with just a few class changes.
<a class="btn btn-ghost" href="#">Adopt a Dino</a>
<a class="btn btn-light" href="#">Save a Herbivore</a>
Let’s pop into the CSS & do just a touch of styling.
⋮
.btn:hover {
  background-color: var(--color-primary);
  border-color: var(--color-primary);
}

.btn-ghost {
  background-color: transparent;
  color: var(--color-primary-dark);
}

.btn-ghost:hover {
  color: var(--color-secondary-light);
}

.btn-light {
  background-color: var(--color-secondary);
  border-color: var(--color-secondary);
  color: var(--color-primary-dark)
}
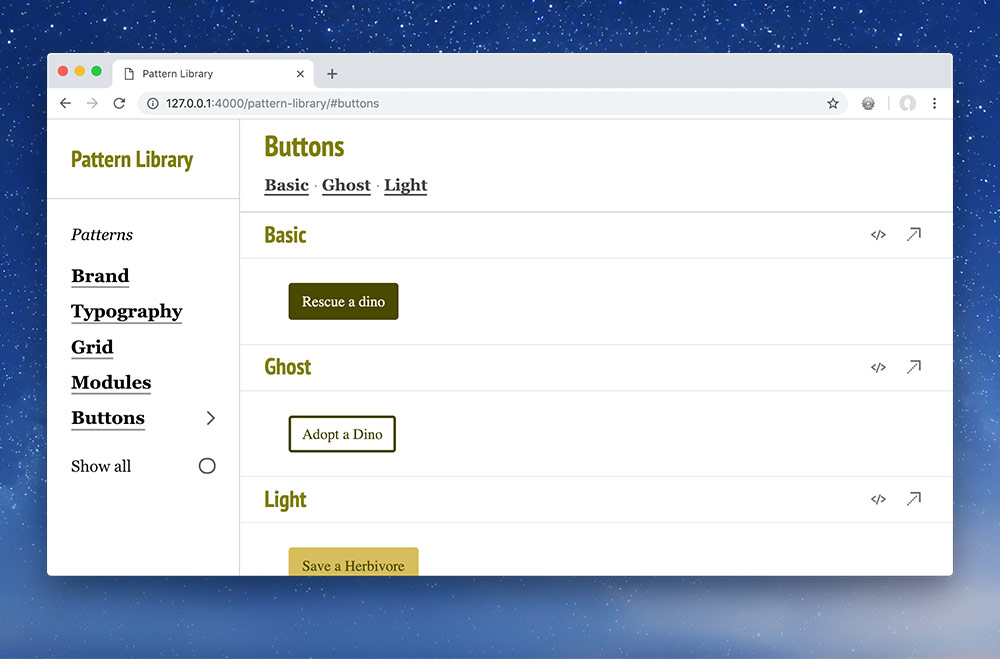
Check ’em all out in your pattern library!
Customize the CSS for your own buttons, using your own colours & fonts. Also add hover effects, transitions, etc.
This is actually this week’s assignment.
We’re going to look at how to integrate patterns into other patterns—but first we need a second pattern to work with. A pattern that needs a button.
To see how this works, let’s make a new pattern: “cards”.
Inside our “dino card” we’re going to put some basic HTML:
<div class="card">
  <img class="img-flex" src="/images/dinos/stegosaurus.jpg" alt="">
  <h2>Stegosaurus</h2>
  <p>The might—and spiky—Stegosaurus roams the Late Jurassic land.</p>
</div>
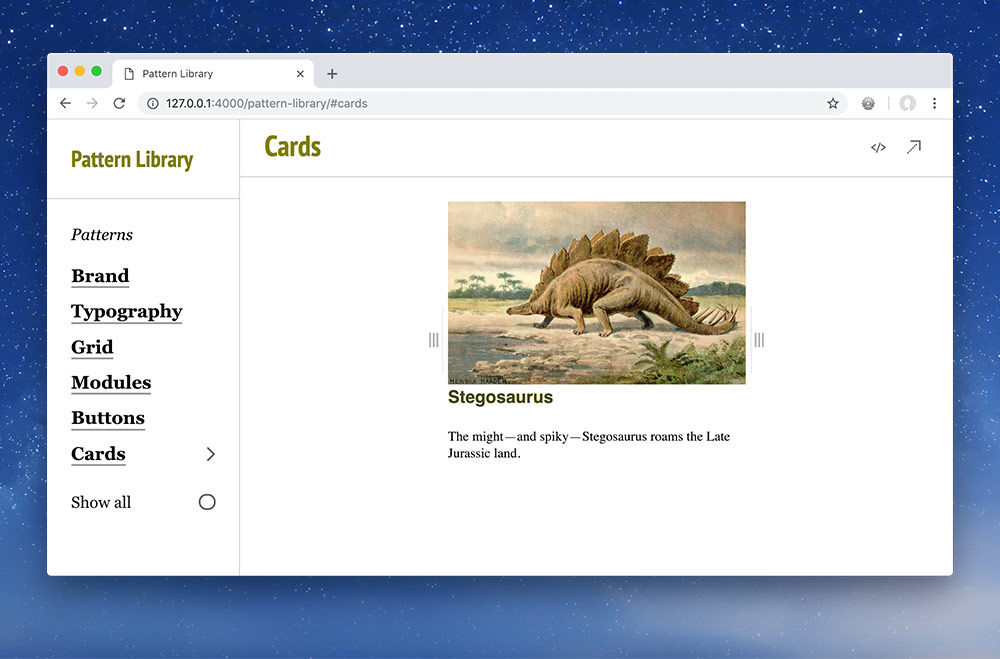
Check out your new—un-styled—pattern in your pattern library.
Notice the / at the start of the images’s src="" attribute. That means the path is absolute—and is very critical for when working with Jekyll & Patternbot.
It helps us forget about what folder our pattern is in and just start at the root of our website directory all the time.
We haven’t used absolute paths until now because they don’t work without a web server—but Jekyll is running a web server for us.
Using patterns in lots of different places is exactly what a pattern library is about. We break everything down into small chunks and reuse those pieces many times.
So, let’s insert a button into our card.
First, go to your pattern library and choose the button you want.
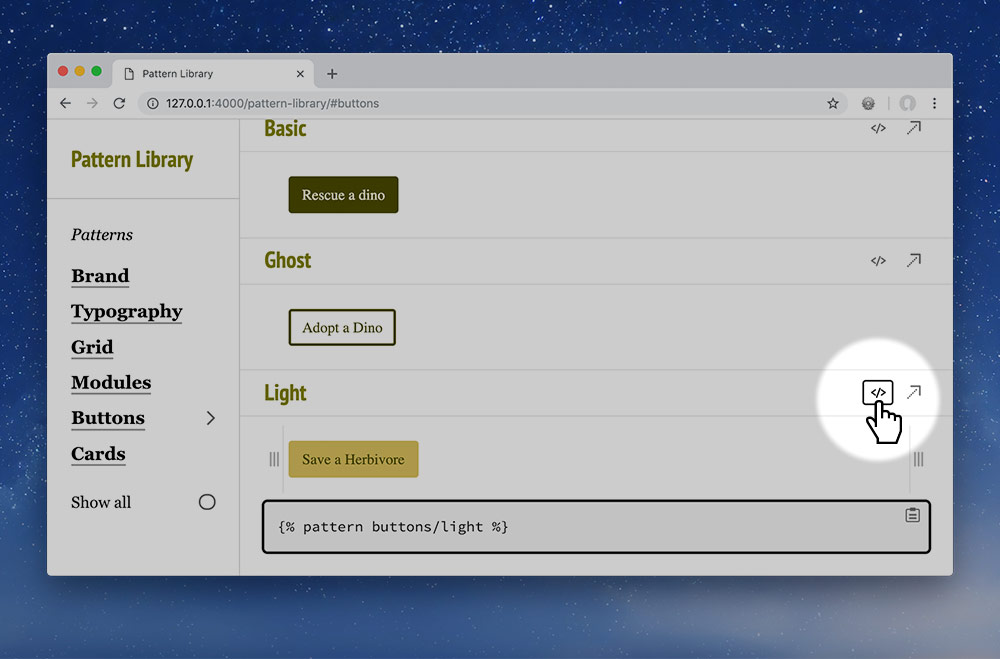
1. Press the “Show code” button beside it’s title.
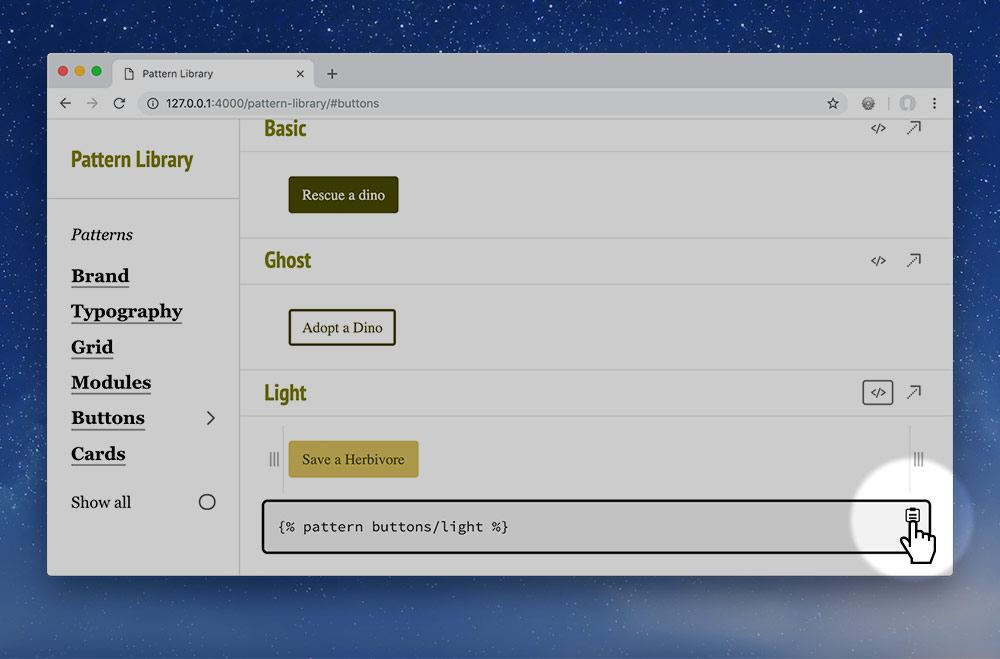
2. Copy the code that will output a button—you can press the “Copy code” button.
3. Paste it into the card where you want it to display:
<div class="card">
  <img class="img-flex" src="/images/dinos/stegosaurus.jpg" alt="">
  <h2>Stegosaurus</h2>
  <p>The might—and spiky—Stegosaurus roams the Late Jurassic land.</p>
  {% pattern buttons/light %}
</div>
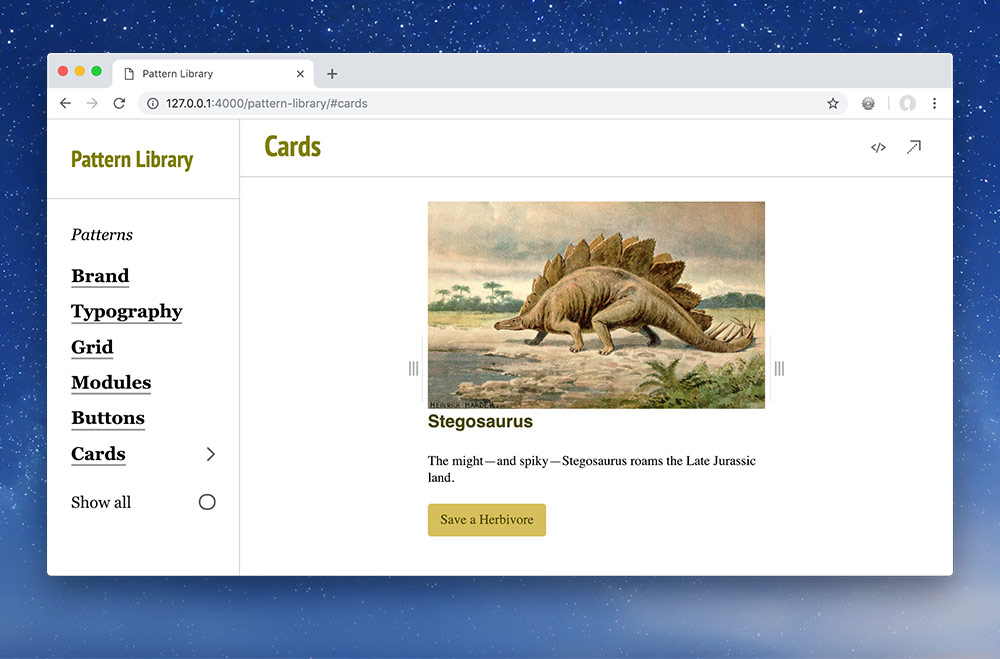
Finally! Check out your new card + button in the pattern library!
In Jekyll terminology this is called an “include”. It tells Jekyll, “Go find this file, read it’s code, and put it right here—so I don’t have to.”
This is a slightly customized include syntax that will look in your _patterns folder. Jekyll only looks in the _includes folder by default.