Retina images

A quick look at exporting retina ready images using the compressive JPG technique.

Goal

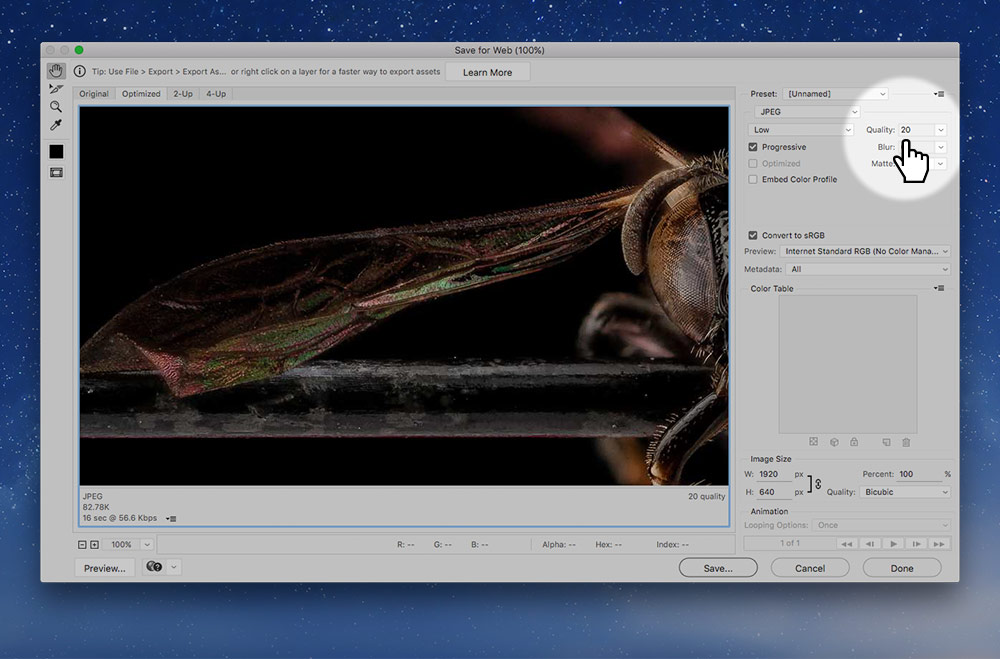
We’re going to explore how to export images so they’re clear on retina screens.

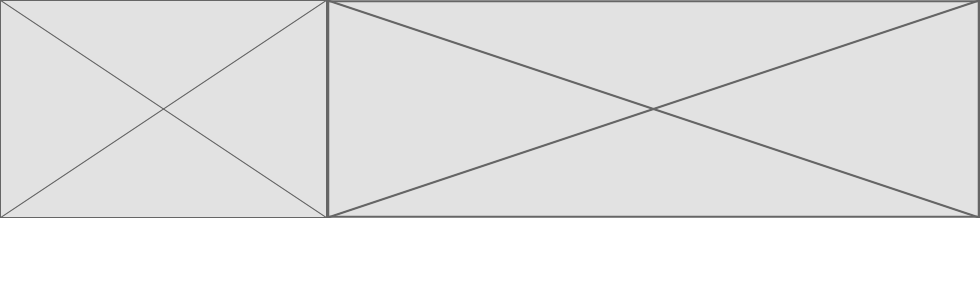
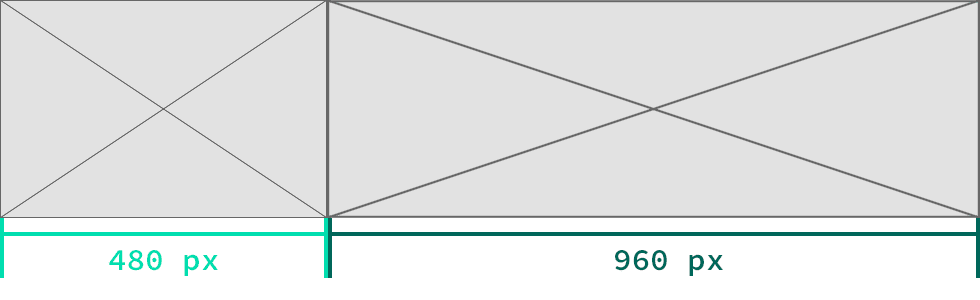
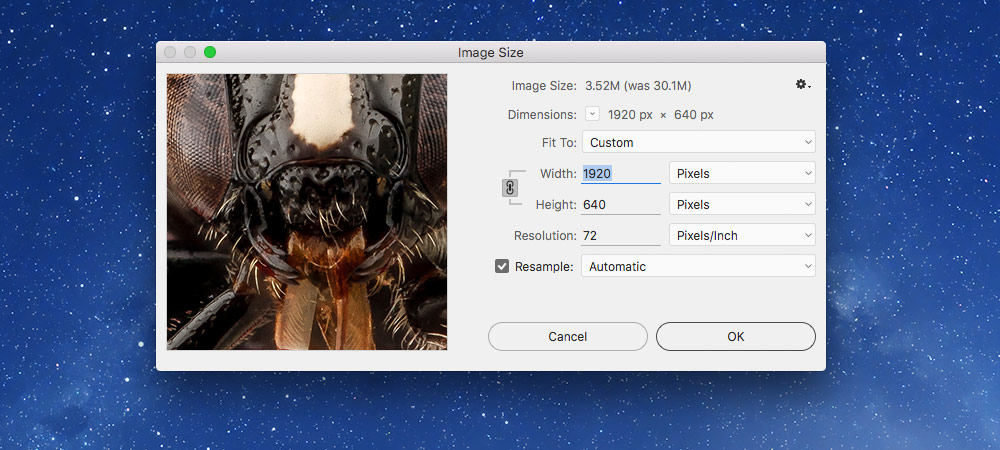
The technique we’re going to look at is called “Compressive JPGs”—essentially we make them double the width and scale them down while significantly reducing the quality.

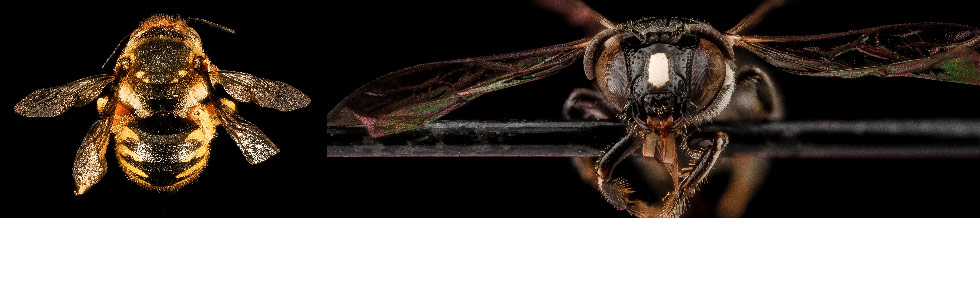
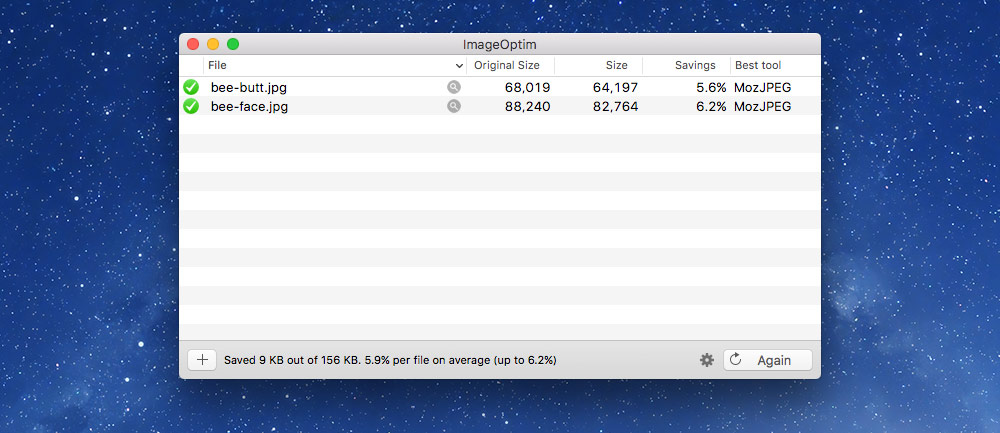
This is what it should look like when it’s done:

Fork & clone

Start the lesson by forking and cloning the retina-images repository.

Fork & clone the “retina-images” repo.

The repository will have some starter files to get you on your way and include requirements for Markbot so you can be sure you’ve completed the lesson.

  1. Fork, clone & Markbot

    This includes some starter code that you can get by forking and cloning the repository. You’ll use Markbot to double check everything is done properly.

1 Project setup

To get started on this project we need to download a few PSDs to use on the website.

Download these PSDs.

After downloading the PSDs and cloning the repo you should have a folder structure like this:

  1. retina-images-lesson
  2. prod
  3. bee-butt.psd
  4. bee-face.psd
  5. retina-images This is the cloned GitHub repo
  6. images
  7. placeholder-3by2.svg
  8. placeholder-3by1.svg
  9. css We’re not going to touch the CSS
  10. grid.css
  11. main.css
  12. modules.css
  13. type.css
  14. index.html

Notice how the PSD files are not inside our Git repository, they’re in a folder beside the Git repository named prod.

Creative Suite documents never go inside your Git repository!

2 Determine the image width

So first, open up the index.html into your browser—you should see two placeholder images.

We need to determine the maximum width the images will ever be. But we first have to pick a maximum size we want to view the site at.

Since we’re using an xl size media query, 90em, in most of our websites let’s use that as the upper limit.

So resize the window so it’s exactly 1440px.

Use the developer tools to measure the widths of each image—you should get these sizes:

3 Calculate the retina width

Now that we know the maximum width our images will display at we take that width and double it:

480 × 2 = 960
960 × 2 = 1920

So the formula for compressive JPGs is:

(maximum width in browser) × 2 = (image dimensions in Photoshop)

4 Resize the images

With the correct dimensions we can now resize the images so they match the retina width we want.

  • Resize the bee-face to 1920px, with a resolution of 72
  • Resize the bee-butt to 960px, with a resolution of 72

5 Save for Web

With the images properly sized we’re now going to export them properly with “Save for Web”.

The important part of exporting when making compressive JPGs is to make the quality really low, 20% low. Since the images will be scaled down by the browser the quality degradation won’t be noticeable.

6 Smush the images

Because performance is probably the most important design consideration for The Web we need to make sure the images are as small as possible.

Drop ’em into ImageOptim and remove all the extra cruft from the JPGs so they can be as small as possible.

7 Point to the new images

Finally we’ll point our HTML to the new images.

⋮
<div class="grid">
  <div class="unit xs-1 s-1 m-1-3">
    <div class="embed embed-3by2">
      <img class="embed-item" src="images/bee-butt.jpg" alt="">
    </div>
  </div>
  <div class="unit xs-1 s-1 m-2-3">
    <div class="embed embed-3by1">
      <img class="embed-item" src="images/bee-face.jpg" alt="">
    </div>
  </div>
</div>
⋮

Drop it into Markbot & submit

Drop the final, coded exercise into Markbot and fix all the errors until Markbot gives you all green (and maybe a little yellow).

After you’ve fixed all the problems, go ahead and submit the assignment. You’ll immediately get your grade.

  1. Submit

    Whenever you’ve passed all Markbot’s specific tests go ahead and submit this lesson for marks.