We’re going to walk through writing some HTML code and the bits that are necessary for a valid document.
This is what it should look like when it’s done:

Create a valid HTML document with all the right starter code.
You can watch the video(s) or follow along with the written tutorial—or both—they convey exactly the same information.
We’re going to walk through writing some HTML code and the bits that are necessary for a valid document.
This is what it should look like when it’s done:
Remember the purpose of this lesson is to type the code out yourself—build up that muscle memory in your fingers!
Start the lesson by forking and cloning the html-document-setup repository.
Fork & clone the “html-document-setup” repo.
The repository will have some starter files to get you on your way and include requirements for Markbot so you can be sure you’ve completed the lesson.
This includes some starter code that you can get by forking and cloning the repository. You’ll use Markbot to double check everything is done properly.
Before we get started, create some files and get ready.
html-document-setup folder you cloned to your code editor (likely Atom).index.html into the html-document-setup folder.Don’t forget to follow the naming conventions.
In order for our HTML file to be read properly by all web browsers we need a bunch of specific elements in our code.
Here’s the HTML we need to make a basic HTML file.
<!DOCTYPE html>
<html lang="en-ca">
<head>
  <meta charset="utf-8">
  <title>HTML template</title>
  <meta name="viewport" content="width=device-width,initial-scale=1">
</head>
<body>

  <!-- All the HTML content goes in here -->

  <header>
    <h1>HTML template</h1>
  </header>

  <main>
    <p>Lorem ipsum dolor sit amet.</p>
    <img src="images/logo.svg" alt="">
    <a href="https://www.wikipedia.org">Wikipedia</a>
  </main>

</body>
</html>
The code above is intentionally not copy-and-paste-able. You need to write the code by hand to learn it properly. So every single lesson will have the ability to copy-and-paste its code snippets disabled.
Remember the purpose of this lesson is to type the code out yourself—build up that muscle memory in your fingers!
The DOCTYPE tells browsers we’re writing valid HTML. Without it browsers will render our sites like 1999.
Everything in the file is wrapped in an <html> element.
This is where we specify the content language using the lang="" attribute.
The <head> is where we store extra metadata about our HTML file; stuff that isn’t rendered in the browser’s viewport.
By writing utf-8 on this line we’re allowing any language to be written in our file. Allows accented characters, non-English characters, Klingon, etc.
The <title> is the most important element—it’s what’s shown in search results and in the browser tab.
The viewport tag tells mobile browsers how to render our website—we’ll discuss this more later.
Everything goes in the <body> tag. This isn’t the body of the content it’s the body of the HTML file.
We can write notes to ourselves, called comments; they won’t be shown on the screen.
The <h1> tag is the most important piece of content on the page—every single HTML file needs one.
We can write as much HTML in here as we want. The indentation is there to help us understand our code, but the browser doesn’t really care.
Double click the index.html file Finder or right-click in your code editor and press “Open in browser”.
You should see something that looks like this:
In the future you can create the HTML boilerplate stuff with a few snippets: html5 and viewport
Type the snippet keyword then press Tab
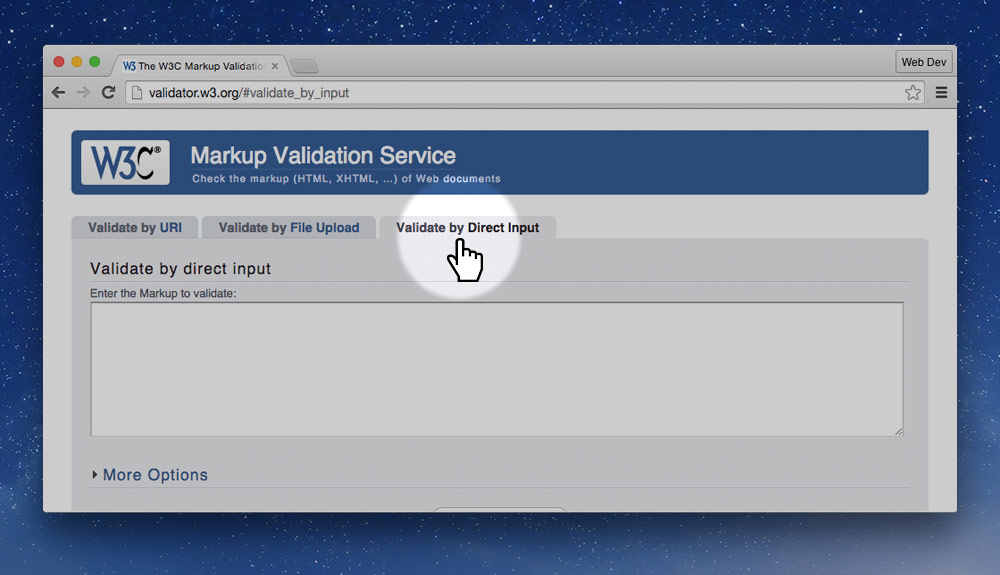
We can use an online tool, called a validator, to check our HTML for bugs like unclosed tags, missing, code, etc.
If your code isn’t doing what you expect it to do—validate it!
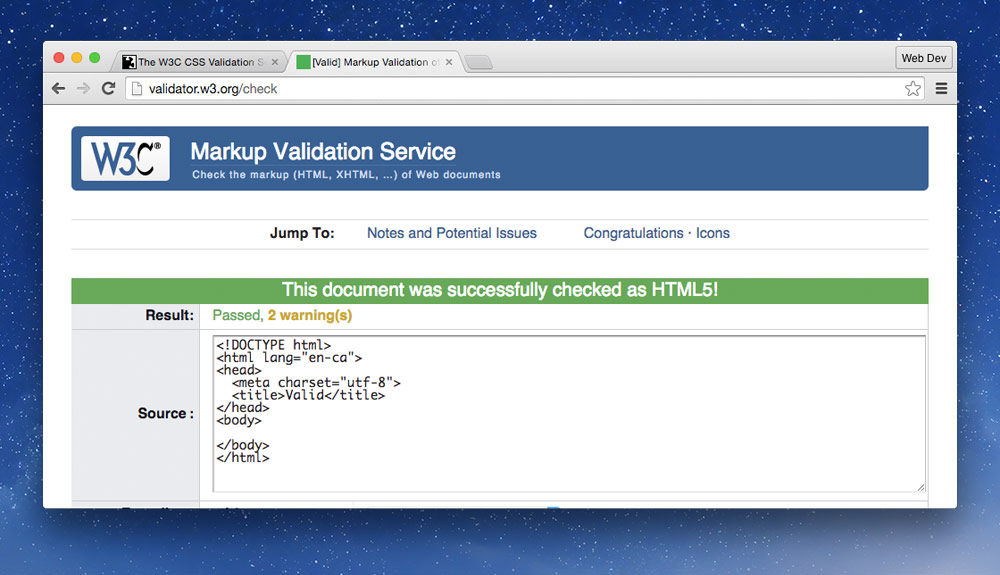
⌘A⌘C⌘VYou want to get the green bar—green is good.
Drop the final, coded exercise into Markbot and fix all the errors until Markbot gives you all green (and maybe a little yellow).
After you’ve fixed all the problems, go ahead and submit the assignment. You’ll immediately get your grade.