We’re going to explore CSS selectors and properties to design the typography of a simple website.
This is what it should look like when it’s done:

Work to build this website and style its typography using your new CSS skills.
We’re going to explore CSS selectors and properties to design the typography of a simple website.
This is what it should look like when it’s done:
Remember the purpose of this lesson is to type the code out yourself—build up that muscle memory in your fingers!
Start the lesson by forking and cloning the dinosaur-designs repository.
Fork & clone the “dinosaur-designs” repo.
The repository will have some starter files to get you on your way and include requirements for Markbot so you can be sure you’ve completed the lesson.
This includes some starter code that you can get by forking and cloning the repository. You’ll use Markbot to double check everything is done properly.
After cloning the repository to your computer you should have some starter images. And a file named content.txt that contains all the text content so you can copy and paste.
Drag the dinosaur-designs folder to Atom and make an HTML file & a CSS file.
index.html fileindex.htmlUse the snippets we installed in the first class: html5 — Tab
And: viewport — Tab
css inside dinosaur-designsmain.css and save it into the css folderUse the snippet: css — Tab

Don’t forget to fill in the href with the path to your CSS file! It should look like this:
<link href="css/main.css" rel="stylesheet">
Open up your main.css file in a tab in Atom and we’re going to write some code.
html {
  box-sizing: border-box;
  background-color: #f2f1ed;
  font-family: Georgia, serif;
  line-height: 1.5;
}

*, *::before, *::after {
  box-sizing: inherit;
}
Now open the index.html in your browser and make the window narrower than normal.
It should look like this in your browser:

Target the whole page—since the html element surrounds everything we can use it to style the whole visible space
Remember: this changes the whole layout math system—it’s super critical.
Change the background colour of the whole page to #f2f1ed
Change the text on the whole page to Georgia with a backup font of serif
Set the line-height of the whole page to 1.5—this is a nice line-height for the web, a little loose but makes the text very readable.
We should do this every time we start a new website.
Don’t forget to close this chunk of CSS with a closing curly brace.
Remember: this changes the whole layout math system—it’s super critical.
Switch to your index.html file inside Atom—open it in a new tab.
You can copy and paste the text content from content.txt to make sure there are no typos.
⋮
</head>
<body>
<header>
<h1><img src="images/dinos-r-us.svg" alt="Dinos ’R’ Us"></h1>
</header>
<main>
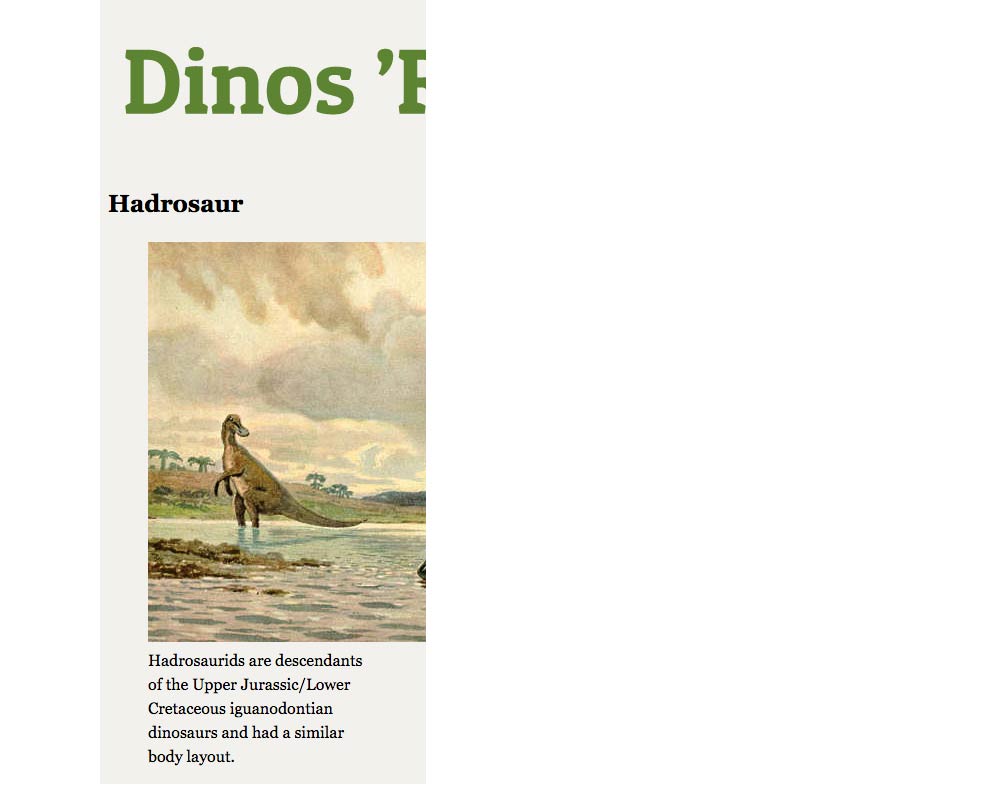
<h2>Hadrosaur</h2>
<figure>
<img src="images/hadrosaur.jpg" alt="">
<figcaption>Hadrosaurids are descendants of the Upper Jurassic/Lower Cretaceous iguanodontian dinosaurs and had a similar body layout.</figcaption>
</figure>
</main>
</body>
</html>
Jump back over to your browser tab a refresh the HTML—you should see this:
We’ll start with a <header> to surround the title and masthead area of the page.
We can surround <img> tags in headings, like <h1> in the case of logos, if we add the very important alt attribute.
In this case the alt attribute should say exactly the text inside the image, essentially what you’d write in the <h1> if there wasn’t an image.
Open up a <main> tag to surround the page’s main content.
Since we’re starting a new information section we should begin with a heading, an <h2> because the previous heading was an <h1>
We’ll use a <figure> element in this situation because the text appears to be a caption for the image itself.
When using the <figure> tag the alt attribute on the image can be blank if the <figcaption> itself provides enough information to describe the image.
Now we’re ready to write a little more CSS to style the new content we added.
⋮
box-sizing: inherit;
}
img {
width: 100%;
}
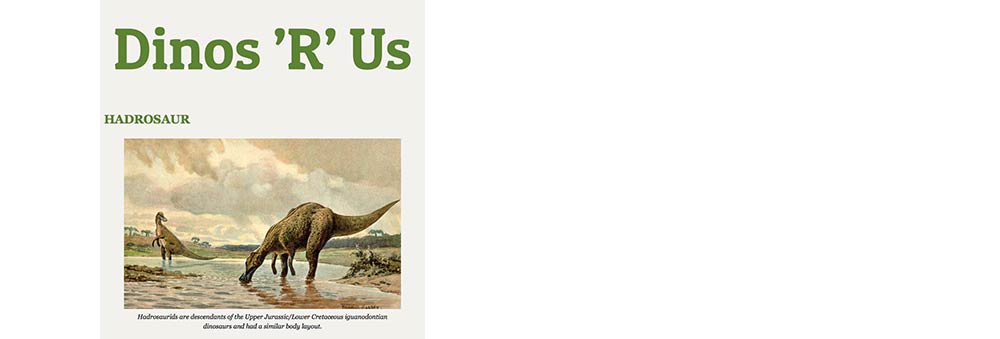
h1, h2 {
color: #5d8432;
text-transform: uppercase;
}
figcaption {
font-size: .8rem;
font-style: italic;
text-align: center;
}
After you’ve written the above code it should look like this in your browser:
Here we’re targeting every single image on the website and we’re giving them a width of 100%. This will allow the images to scale to fit their parent element.
We’re going to target all the <h1> and <h2> tags on the page to add some styles to them.
Change the colour of their text to a greenish hue.
Change the letters to uppercase. We never want to write actual uppercase letters in HTML (except for acronyms, etc.) because, digitally, uppercase means yelling. So if we visually want uppercase we can use CSS to do it.
Target the <figcaption> tag to adjust the text underneath the image. Change the font size, style and align the text to the centre.
Pop back over to your HTML file and add the navigation. We’re going to insert it into the <header> tag right below the <h1>.
⋮
</head>
<body>

  <header>
    <h1><img src="images/dinos-r-us.svg" alt="Dinos ’R’ Us"></h1>
    <nav>
      <ol>
        <li><a href="#hadrosaur">Hadrosaur</a></li>
        <li><a href="#iguanodon">Iguanodon</a></li>
        <li><a href="#stegosaurus">Stegosaurus</a></li>
      </ol>
    </nav>
  </header>

  <main>

    <h2 id="hadrosaur">Hadrosaur</h2>
    <figure>
      <img src="images/hadrosaur.jpg" alt="">
⋮
The next part is completely up to you: copy and paste the <h2> & <figure> tags to add the remaining two dinosaurs onto the page.
After you’ve added the final two dinosaurs you should see this:

We must always wrap navigation on our website in the <nav> tag.
It’s best practice to surround the navigation links in a list. In this situation we’re using an <ol> because the order of the links matches the order of the content.
These links are going to jump down to each of the dinosaurs on the page that’s why we’re using internal # links.
We are adding a matching id attribute to the <h2> tag that will show the matching navigation item where to jump down to in the content.
We’re going to style the navigation so it doesn’t use the browser’s default CSS. Open up your CSS file and add this code:
⋮
figcaption {
  font-size: .8rem;
  font-style: italic;
  text-align: center;
}

nav {
  font-size: 1.125rem;
  font-weight: bold;
}

nav ol {
  list-style-type: none;
}

nav a {
  color: #793284;
  text-decoration: none;
}

nav a:hover {
  color: #b42885;
  text-decoration: underline;
}
Look like this in your browser, you should see this:
Target the whole navigation element to adjust the text: making it bold and slightly larger.
Target the list inside the navigation to remove the bullets.
Target the links inside the navigation to change their colour and remove the underline. It’s usually bad practice to remove underlines from links, but in the case of primary navigation it’s usually okay.
We’re going to style the hover state of the nav links to change their colour and reinstate the underline.
Just for fun, I want to make the caption of the first dinosaur have larger text than the rest.
To do that, we need to target that caption separately from the other captions. The best way to accomplish that is to use a class. A class is like a name that we can assign to any HTML element, then use that name in the CSS for styling.
⋮
<h2 id="hadrosaur">Hadrosaur</h2>
<figure>
  <img src="images/hadrosaur.jpg" alt="">
  <figcaption class="intro">Hadrosaurids are descendants of the Upper Jurassic/Lower Cretaceous iguanodontian dinosaurs and had a similar body layout.</figcaption>
</figure>
⋮
Now we pop over to our CSS file and target that class to make some style changes.
⋮
nav a:hover {
  color: #b42885;
  text-decoration: underline;
}

.intro {
  font-size: 1rem;
}
Refresh in the browser to see the caption is a little larger.

Notice the new attribute on the <figcaption>. We add the class attribute and make up whatever we want inside the quotes—but make sure the class name follows our naming conventions.
Target the class directly—make sure to put a period in front (.). The period in CSS means: “this is a class”.
Then style the font size so it’s a little larger than the rest of the captions.
Here’s something for you to complete on your own…
<link> tag GoogleDouble check Google’s CSS font-family code, it states that the backup font for ”Patua One” is a cursive font, which isn’t correct—replace cursive with a more appropriate backup font like sans-serif.
After you’re done the above steps it should look like this in your browser:
Drop the final, coded exercise into Markbot and fix all the errors until Markbot gives you all green (and maybe a little yellow).
After you’ve fixed all the problems, go ahead and submit the assignment. You’ll immediately get your grade.