Merging teammate work

Learn to use GitHub’s Pull Request system to get branched code back onto the master branch and into the live website.

Goal

We’re going to get the code your developer did over the past week on the “Product details” page back into master so everybody’s repository is completely up-to-date.

We’ll be looking at a system called “Merge requests”, or in GitHub’s terminology: “Pull requests”, which allow code owners to view & approve or reject new code additions for the master branch.

You’ll be switching back ’n’ forth between your own repo & your teammate’s repo on GitHub Desktop.

1 Publish & commit

Working on your teammate’s repo. The first step in this whole process is making the product details code available online. That’s called “publishing the branch”.

If we didn’t publish the branch the code would only be available on our local computer.

So, go ahead & press the “Publish branch” button.

And make sure all your changes are completely committed & pushed.

2 Create a pull request

Working on your teammate’s repo. The next step is to request permission from the code owner to merge your changes into the master branch. On GitHub this is called a “Pull request”, which I think is a slightly confusing term, I prefer to call it a “Merge request”.

From inside the GitHub Desktop application you can initiate creating a pull request.

It will bump you to the browser were you can finalize the pull request details.

GitHub might try to initiate the pull request against the original Web Dev ecommerce-pattern-library—but we want to do a merge request against this specific repository. So open the drop down choose your teammate’s (the code owner’s) name from the list.

Make sure to add a detailed description & set the code owner as the “Reviewers”. Then press “Create pull request”.

3 Approve the new code

Working on your own repo. Now it’s time for you, as the code owner, to review the code and make sure it works like you anticipate.

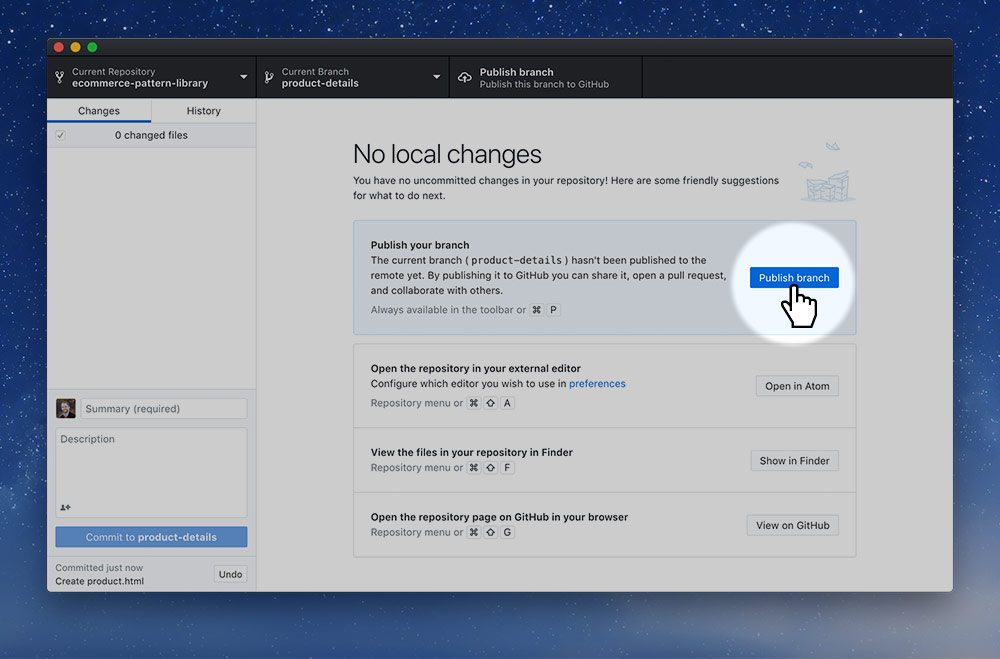
In your own GitHub Desktop application, while on the master branch, pull it.

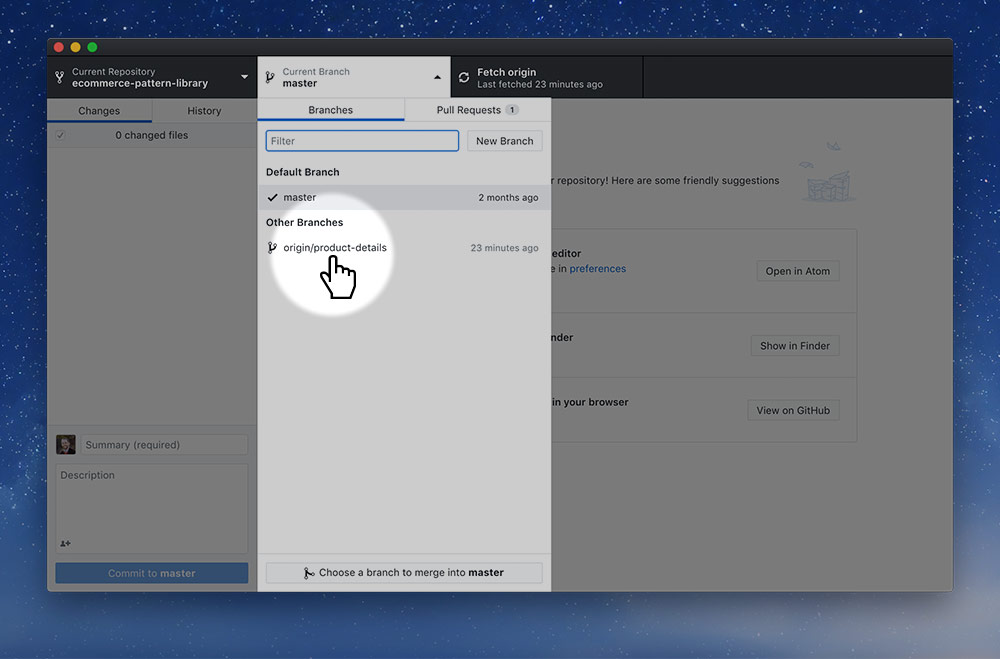
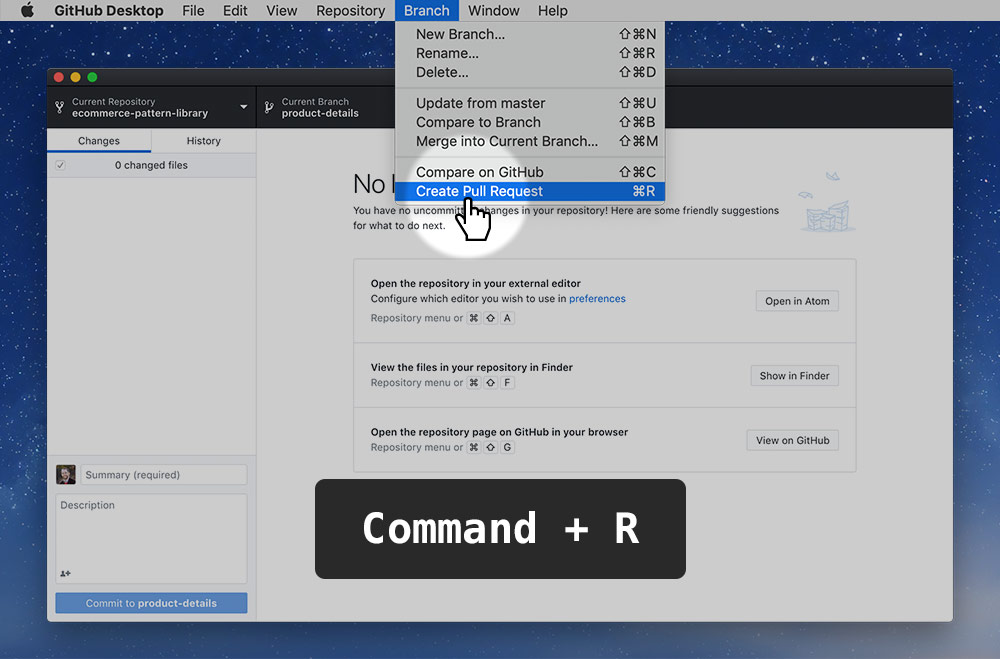
Switch to the origin/product-details branch and load it up in your browser. (If you have your teammate’s repo running in Terminal you’ll have to switch to yours.) Confirm that each product loads the information properly, that it’s responsive & designed well.

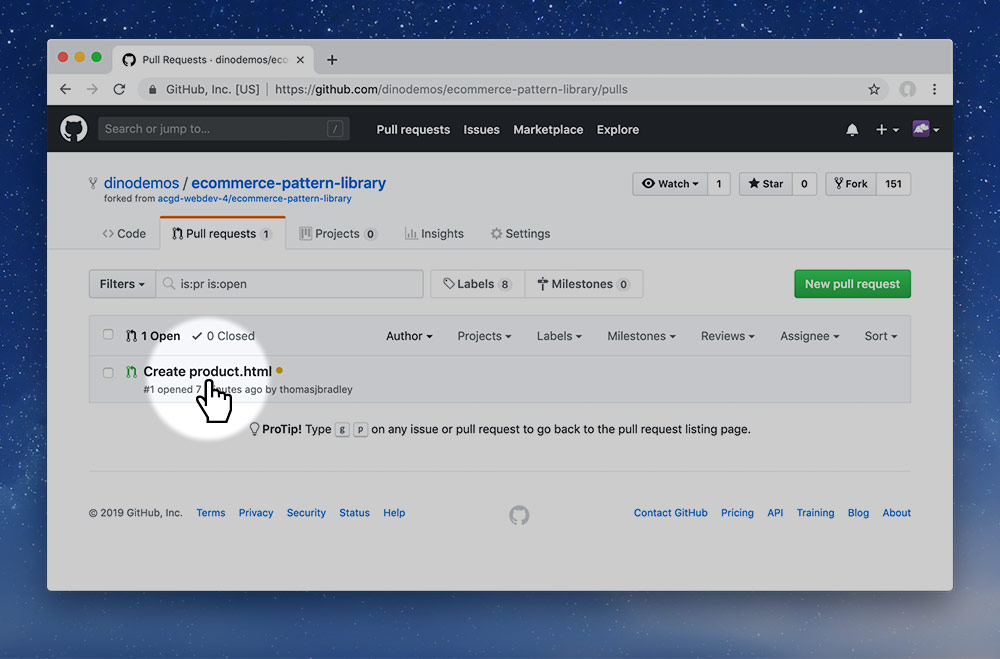
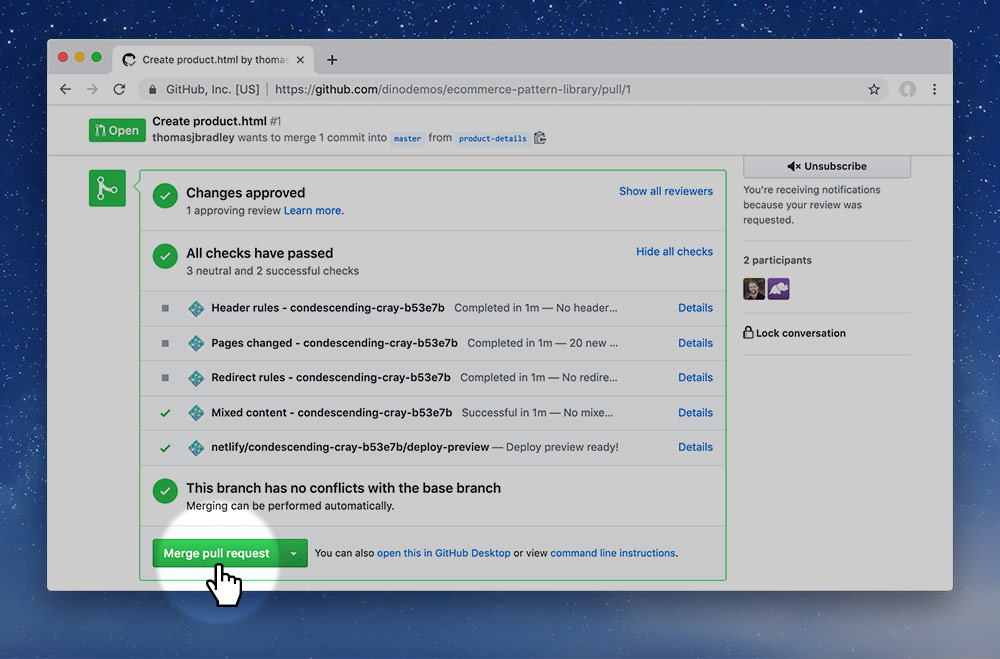
If there is anything wrong or things that need fixing we can detail that in the pull request. So move back into the browser.

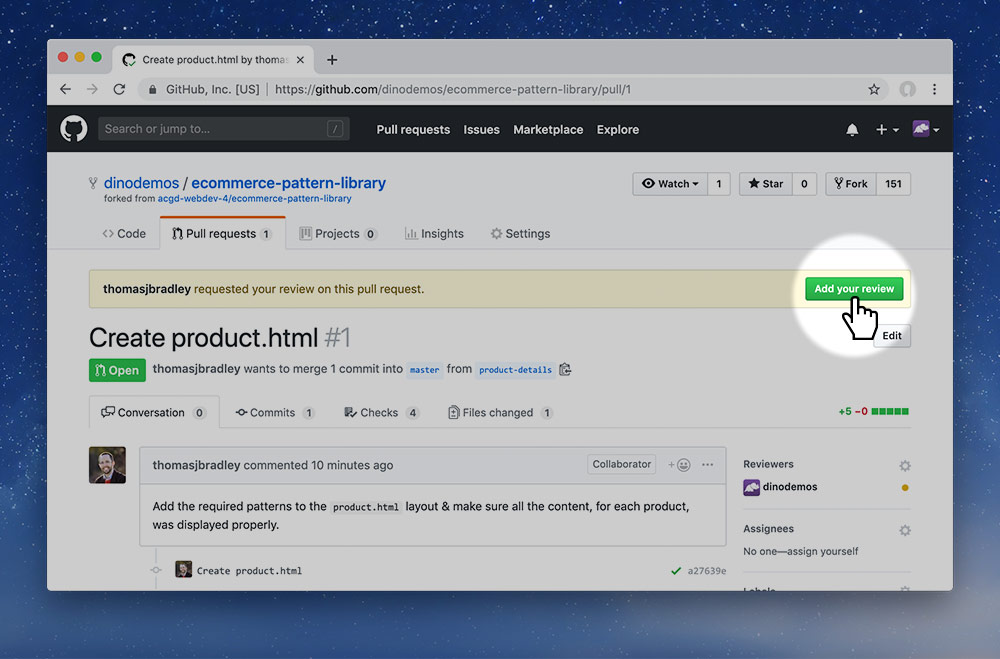
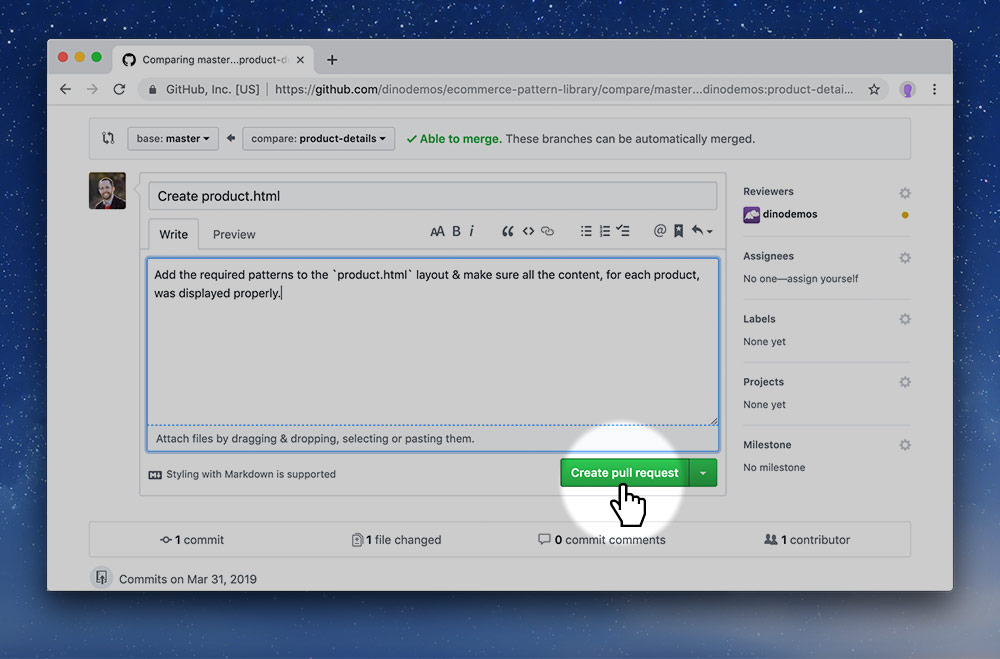
Then press the big green “Add your review” button.

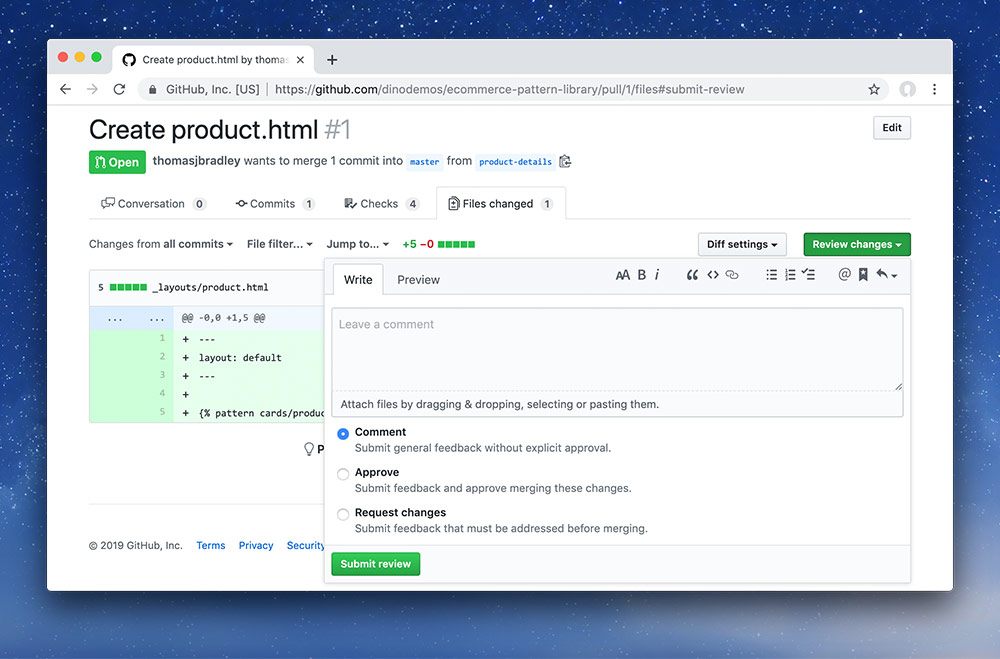
On the next screen it’s your job to make comments & approve or deny the request.

  • Leave comments in the comment box stating what’s wrong with the code, or that it looks good.
  • If the code is good, select “Approve”.
  • If the code needs some adjustment, select “Request changes”.

Then press the “Submit review” button.

  1. Branch switching

    By switching to a branch all the code inside the repository folder changes to match the code within that branch.

    If you try switching between master & product-details you’ll see the code inside product.html switch back & forth between the two versions.

4 Make new commits, if necessary

Working on your teammate’s repo. If the code owner requested changes to your code it’s your job now to make those changes. Go back to the code, working on the product-details branch & make new commits and pushing the to GitHub.

The new commits will automatically show up on the pull request page.

5 Add another review, if necessary

Working on your own repo. If your developer teammate made new commits into the product-details branch, you’ll be required to review the changes again and hopefully press “Approve”.

6 Merge the pull request

Working on your own repo. Now that the code is completely approved we can merge the pull request.

Go ahead & press the big green “Merge pull request” button. And the “Confirm merge” button too.

After that’s done you can press the tiny grey “Delete branch” button.

7 Pull repository

Working on your own repo. We now want to get up-to-date version of master onto your computer. So, in GitHub Desktop, “Pull” the repository. Make sure you’re viewing the master branch.

If you check it out in your browser, assuming it’s running in Terminal, you should see the final version of the product details page.

8 Delete product details branch

Working on your teammate’s repo. You, the developer, should now delete your product-details branch because it has been merged. Branches should only be used once, for one single feature, then deleted after they are merged & finalized.

Press the “Delete…” menu item in the “Branch” menu.